
Batches Two and Three: One Brew Day, Two Meads
Four weeks after Batch One’s brew day, the fermenter is full again — a bigger one this time, with a different honey, a different yeast, and a plan that gets two meads out of one fermentation. This is the day-zero post. As with Batch One, I’m writing it as it happens, and the misses are in here on purpose.
Two batches, one primary
Batch Two was always going to be the sparkling mead: a traditional base fermented bone dry with champagne yeast, then carbonated the old-fashioned way — a second fermentation in the bottle. Batch Three was going to be a melomel, mead with fruit, using dried apricots.
Somewhere in the planning I noticed the obvious. Both of those start life as the same thing: honey, water, yeast, fermented dry. They only part ways in secondary — one gets primed and bottled, the other gets fruit. So instead of running two small fermentations a week apart, I’m running one larger one and splitting it when it’s done. Same honey, same yeast, same day. Two lessons for the price of one primary.
The honey: tupelo, straight from the beekeeper
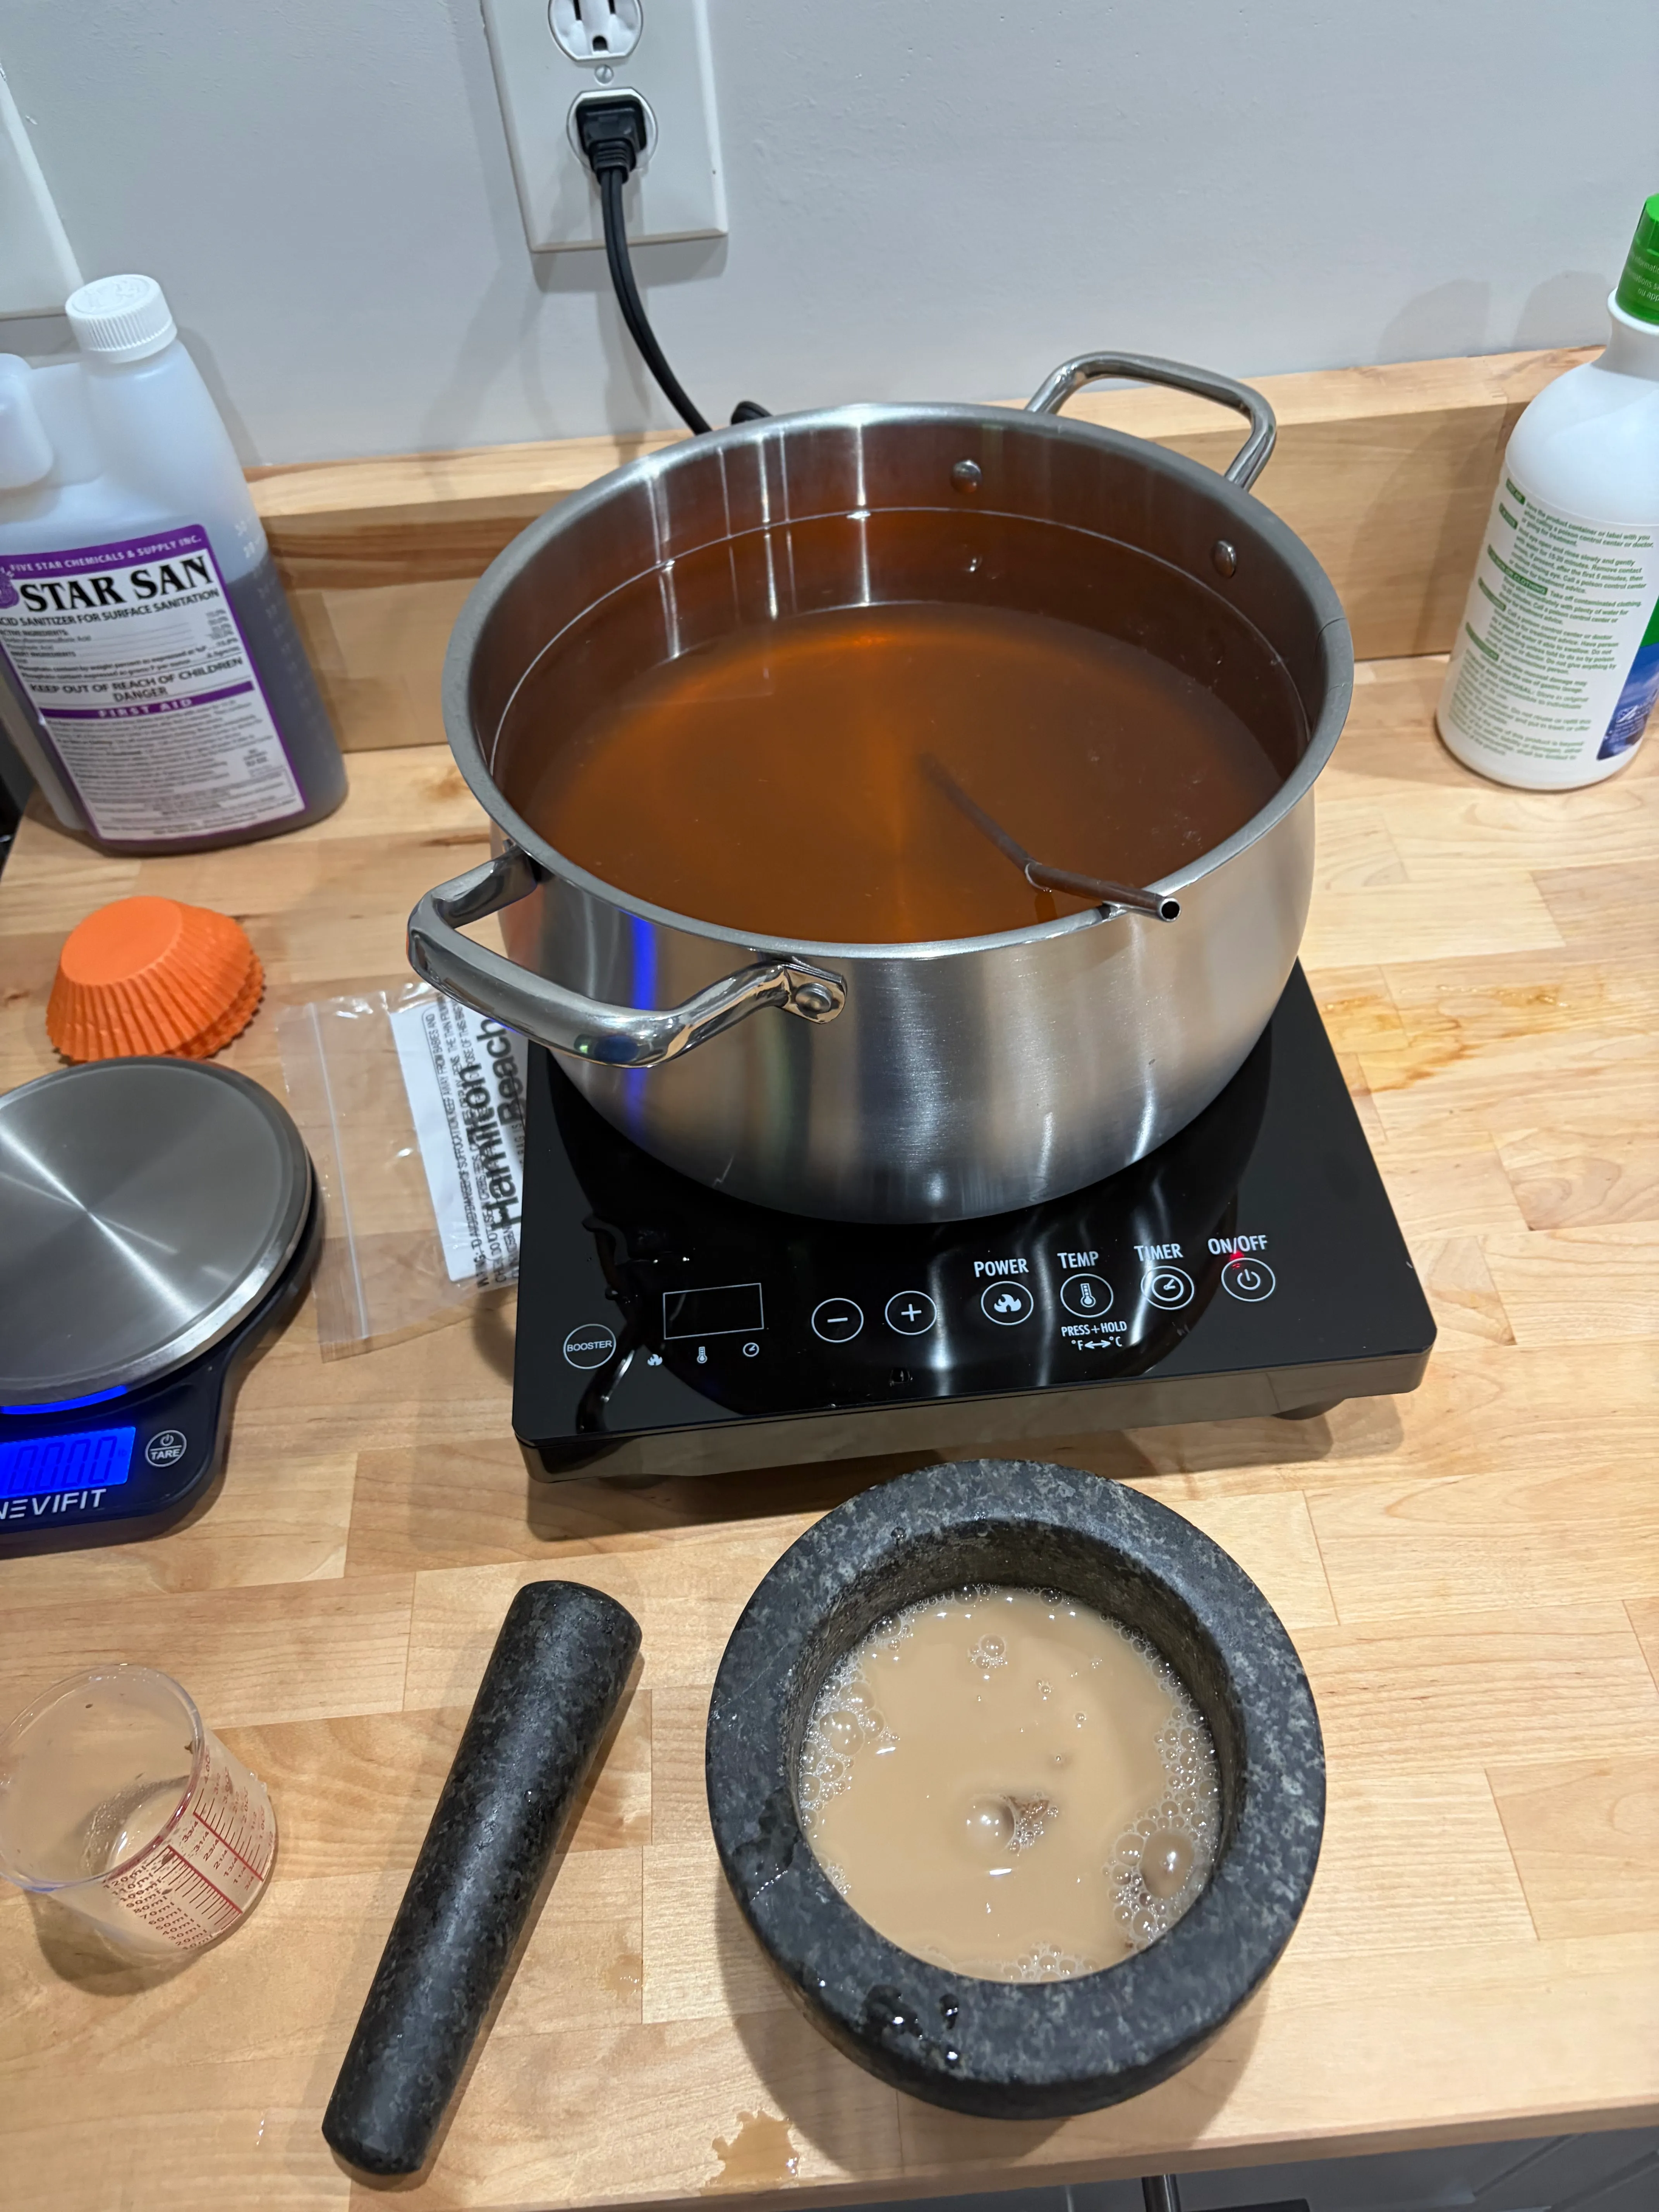
Batch One used wildflower. This time I went up-market: about six pounds of tupelo honey from Sweetwater Creek Honey Farm in Winston, Georgia. If you’ve never had tupelo, it’s the one the honey people get quiet and reverent about — pale, floral, a little pear-like, and so high in fructose it famously won’t crystallize. It’s also expensive enough that you don’t want to cook it. Which is why I kept the dissolving water at a modest temperature and why the whole fermentation is being run cool — more on that below.
I’ll say again what I said on the first brew day: buy honey from a beekeeper. Grocery-store honey will make mead. Honey from someone who can tell you which trees the bees were working will make mead worth writing about.
The recipe, and the mistake I made in it
The target was two gallons at an original gravity around 1.090 — the same strength as Batch One, just doubled. Roughly three pounds of honey per gallon gets you there.
Here’s the miss. I dissolved the honey, then topped the fermenter up with water to the two-gallon mark without accounting for the volume the honey itself takes up. Six pounds of honey is close to half a gallon of liquid. So I overshot: the batch is really about 2¼ gallons, not two. It doesn’t hurt anything — the gravity still landed on target because I’d already put the honey in — but I’ll be pouring the extra quarter-gallon into a small tasting bottle at racking, and next time the honey goes in first and then I fill to the line. Write that one down if you’re scaling up a recipe: honey is not weightless, and it isn’t volumeless either.
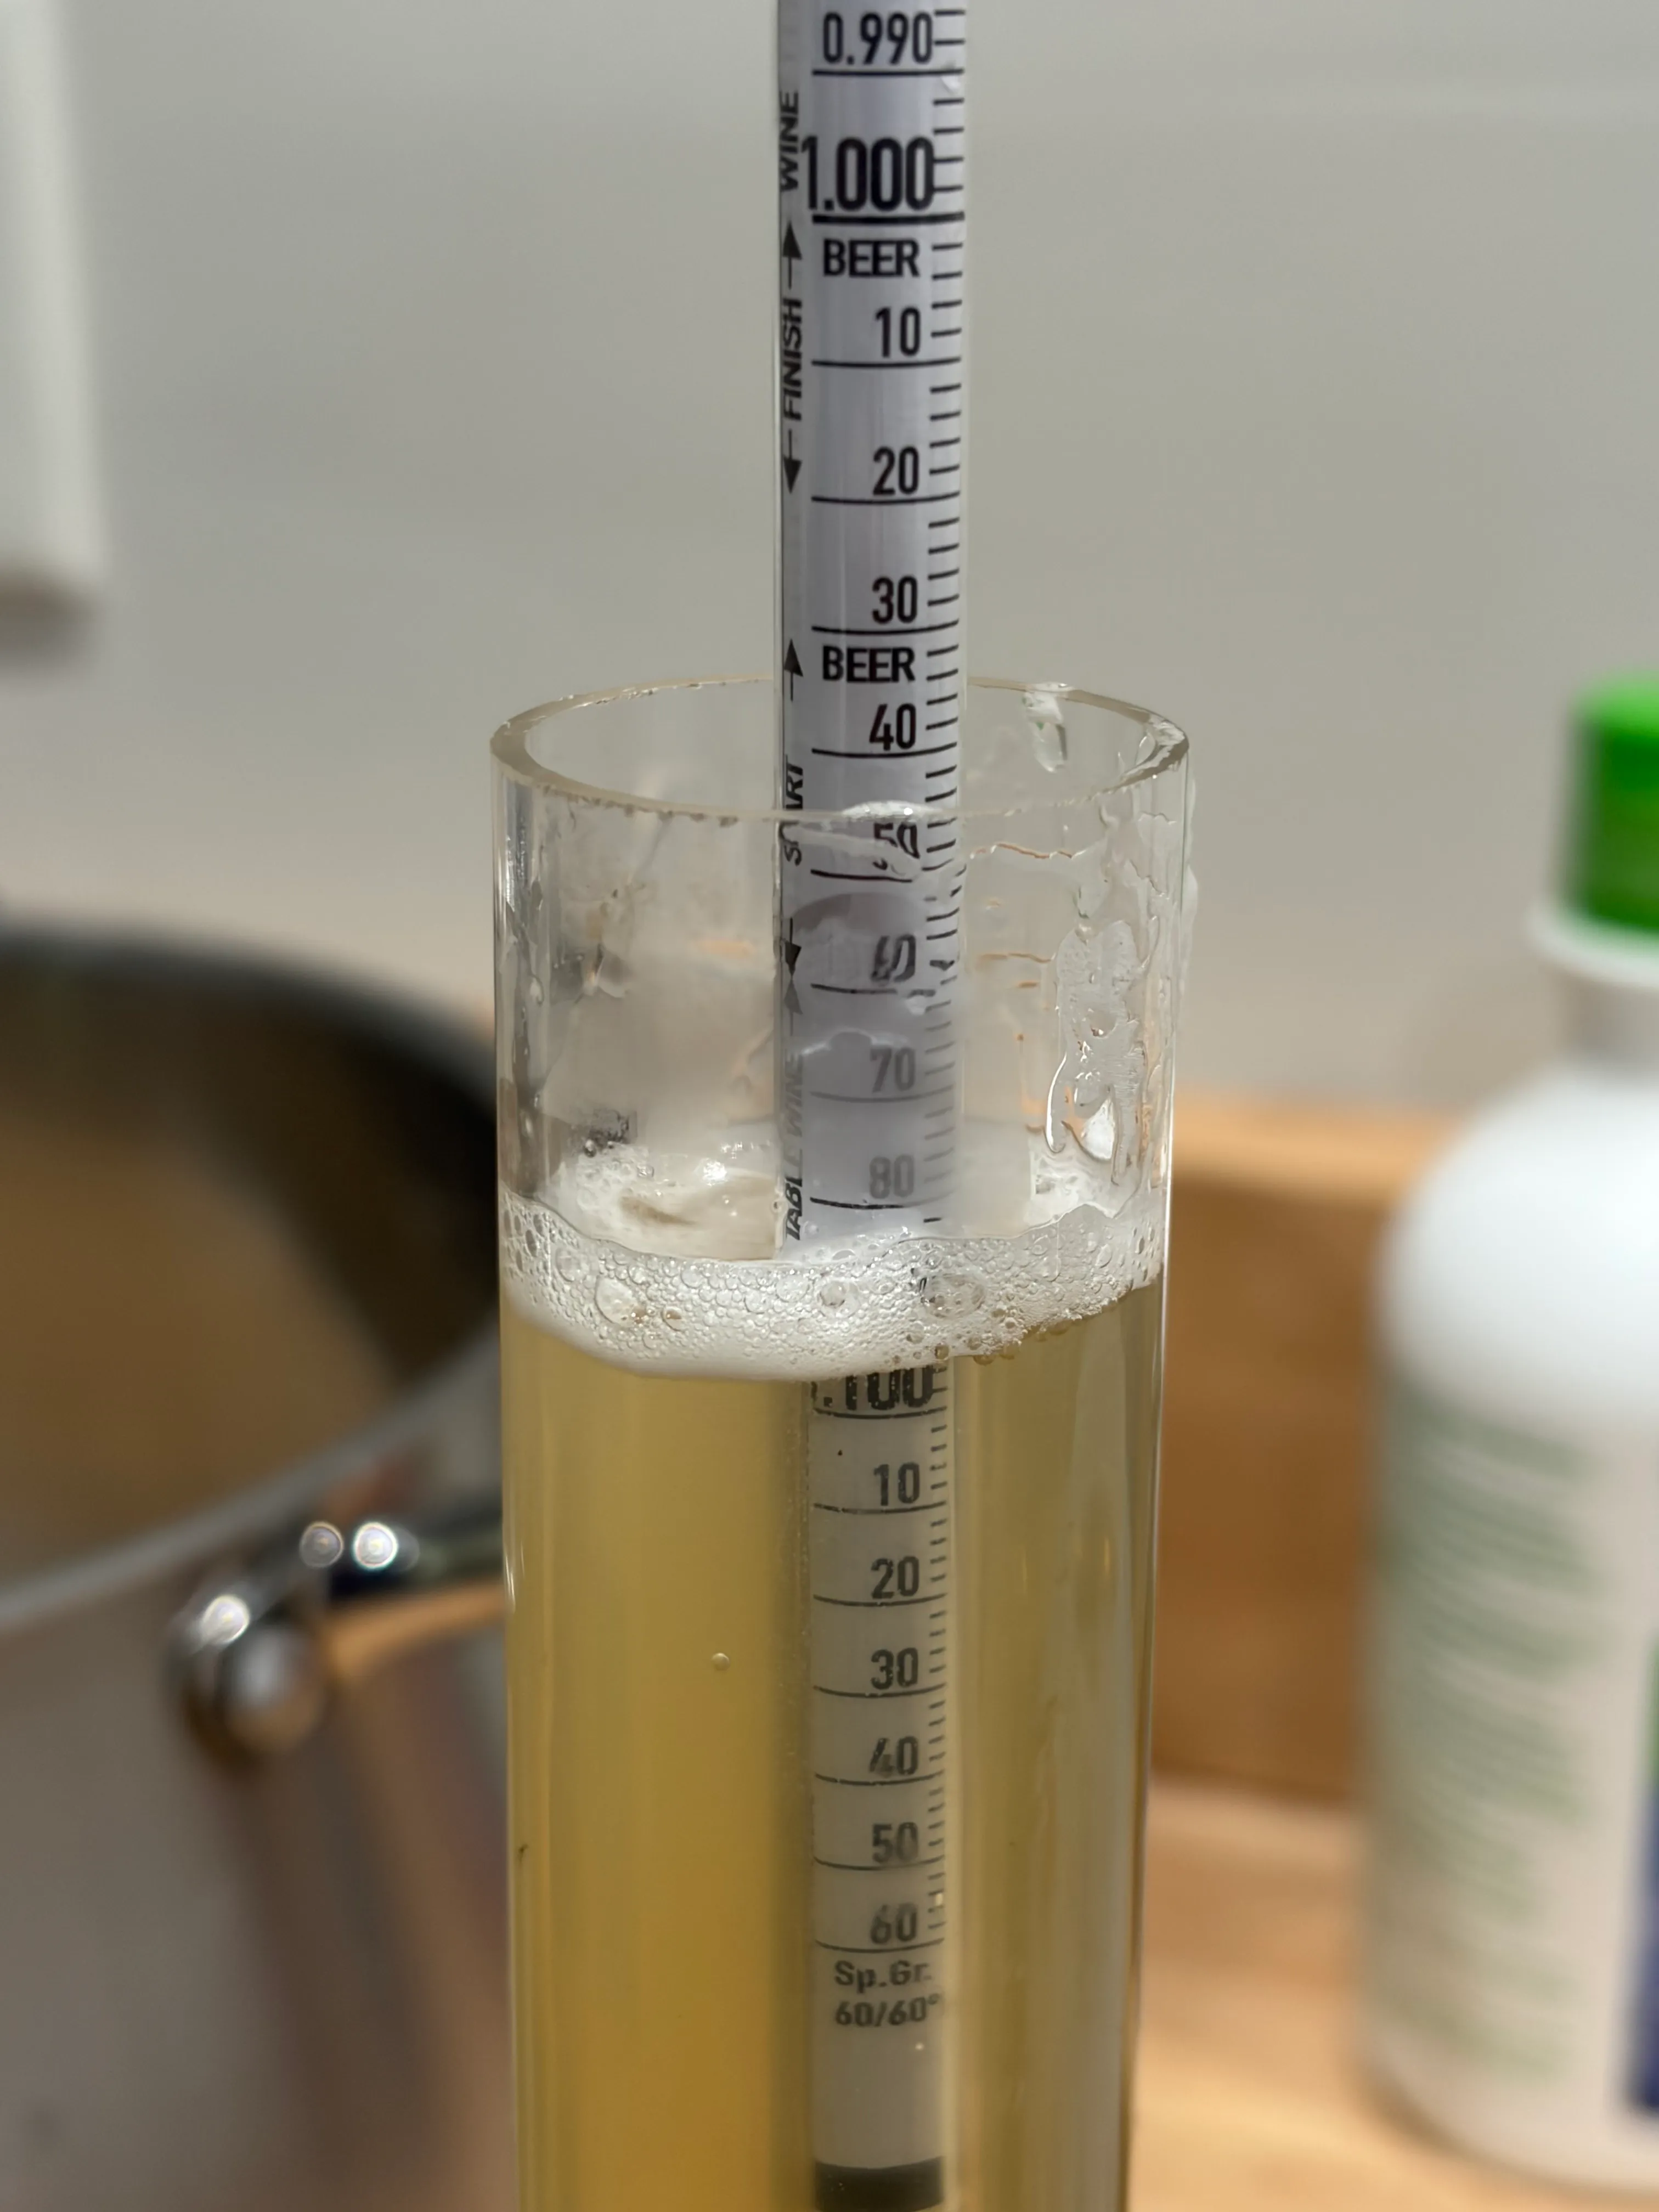
The hydrometer read 1.091. I checked it twice this time. Nobody argued with it. (If you read the Batch One brew-day post you’ll understand why I mention that.)
The yeast: EC-1118, the champagne workhorse
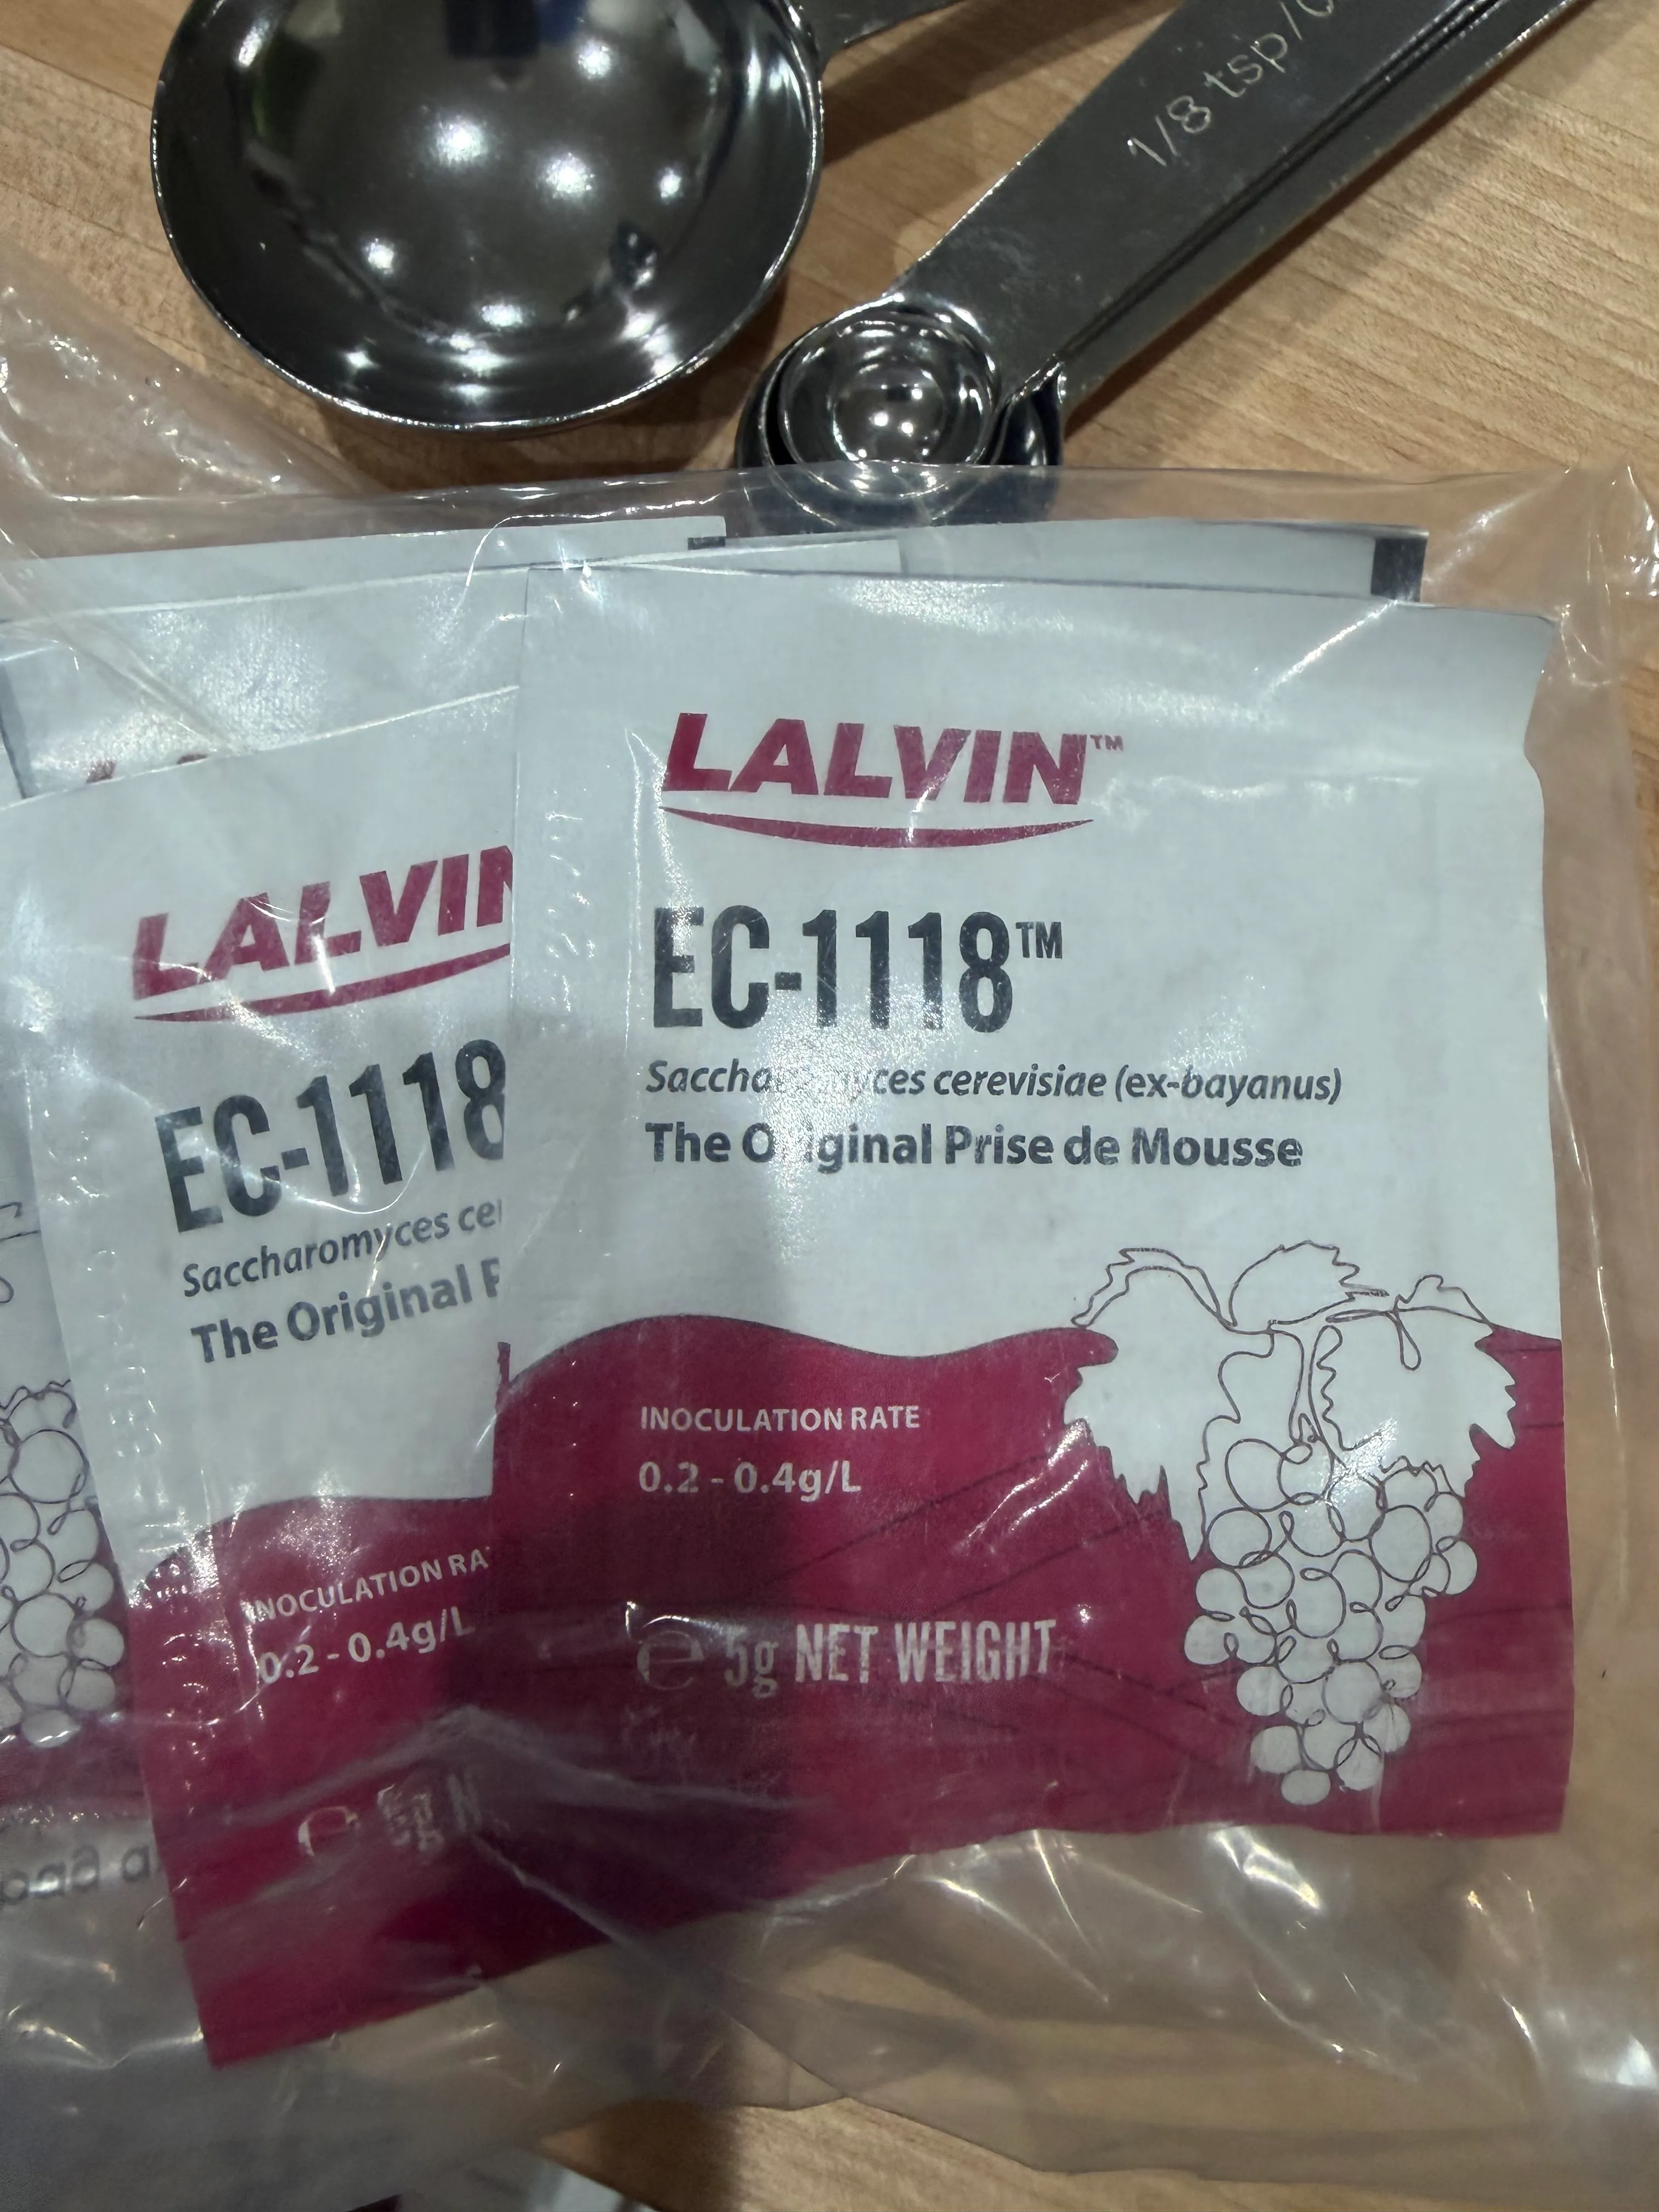
Batch One ran on Lalvin 71B, a soft, fruity wine yeast. Batch Two needs something else: a strain that ferments completely dry, tolerates high alcohol, and — this is the important part — will reliably wake back up months later, inside a sealed bottle, and eat a measured dose of sugar into bubbles. That’s Lalvin EC-1118, the classic Champagne strain. It’s what the sparkling-wine industry uses for exactly this job.
It’s a clean, neutral yeast, which is also right for the apricot half: I want the fruit to lead, not the yeast.
Rehydration was by the book — a five-gram packet with six grams of Go-Ferm in warm water, left to wake up, then eased into the must — except that my beaker was busy, so the yeast woke up in a molcajete. It didn’t seem to mind. Once it was in, I stirred like I meant it. Batch One taught me that when you think you’ve aerated enough, you haven’t.
Temperature: the thing I’m doing differently
The single biggest change from Batch One is that I’m managing the fermentation temperature on purpose.
My brew space sits at a steady 70 °F (21 °C). That sounds fine — but an actively fermenting must generates its own heat and can run five to ten degrees warmer than the room. Batch One fermented at whatever temperature the room and the yeast negotiated between them — I never measured it — and while it turned out well, the upper 70s is exactly the range where delicate honey aromatics blow off out the airlock and the yeast starts throwing harsher flavors. With honey this good, I’m not giving that up.
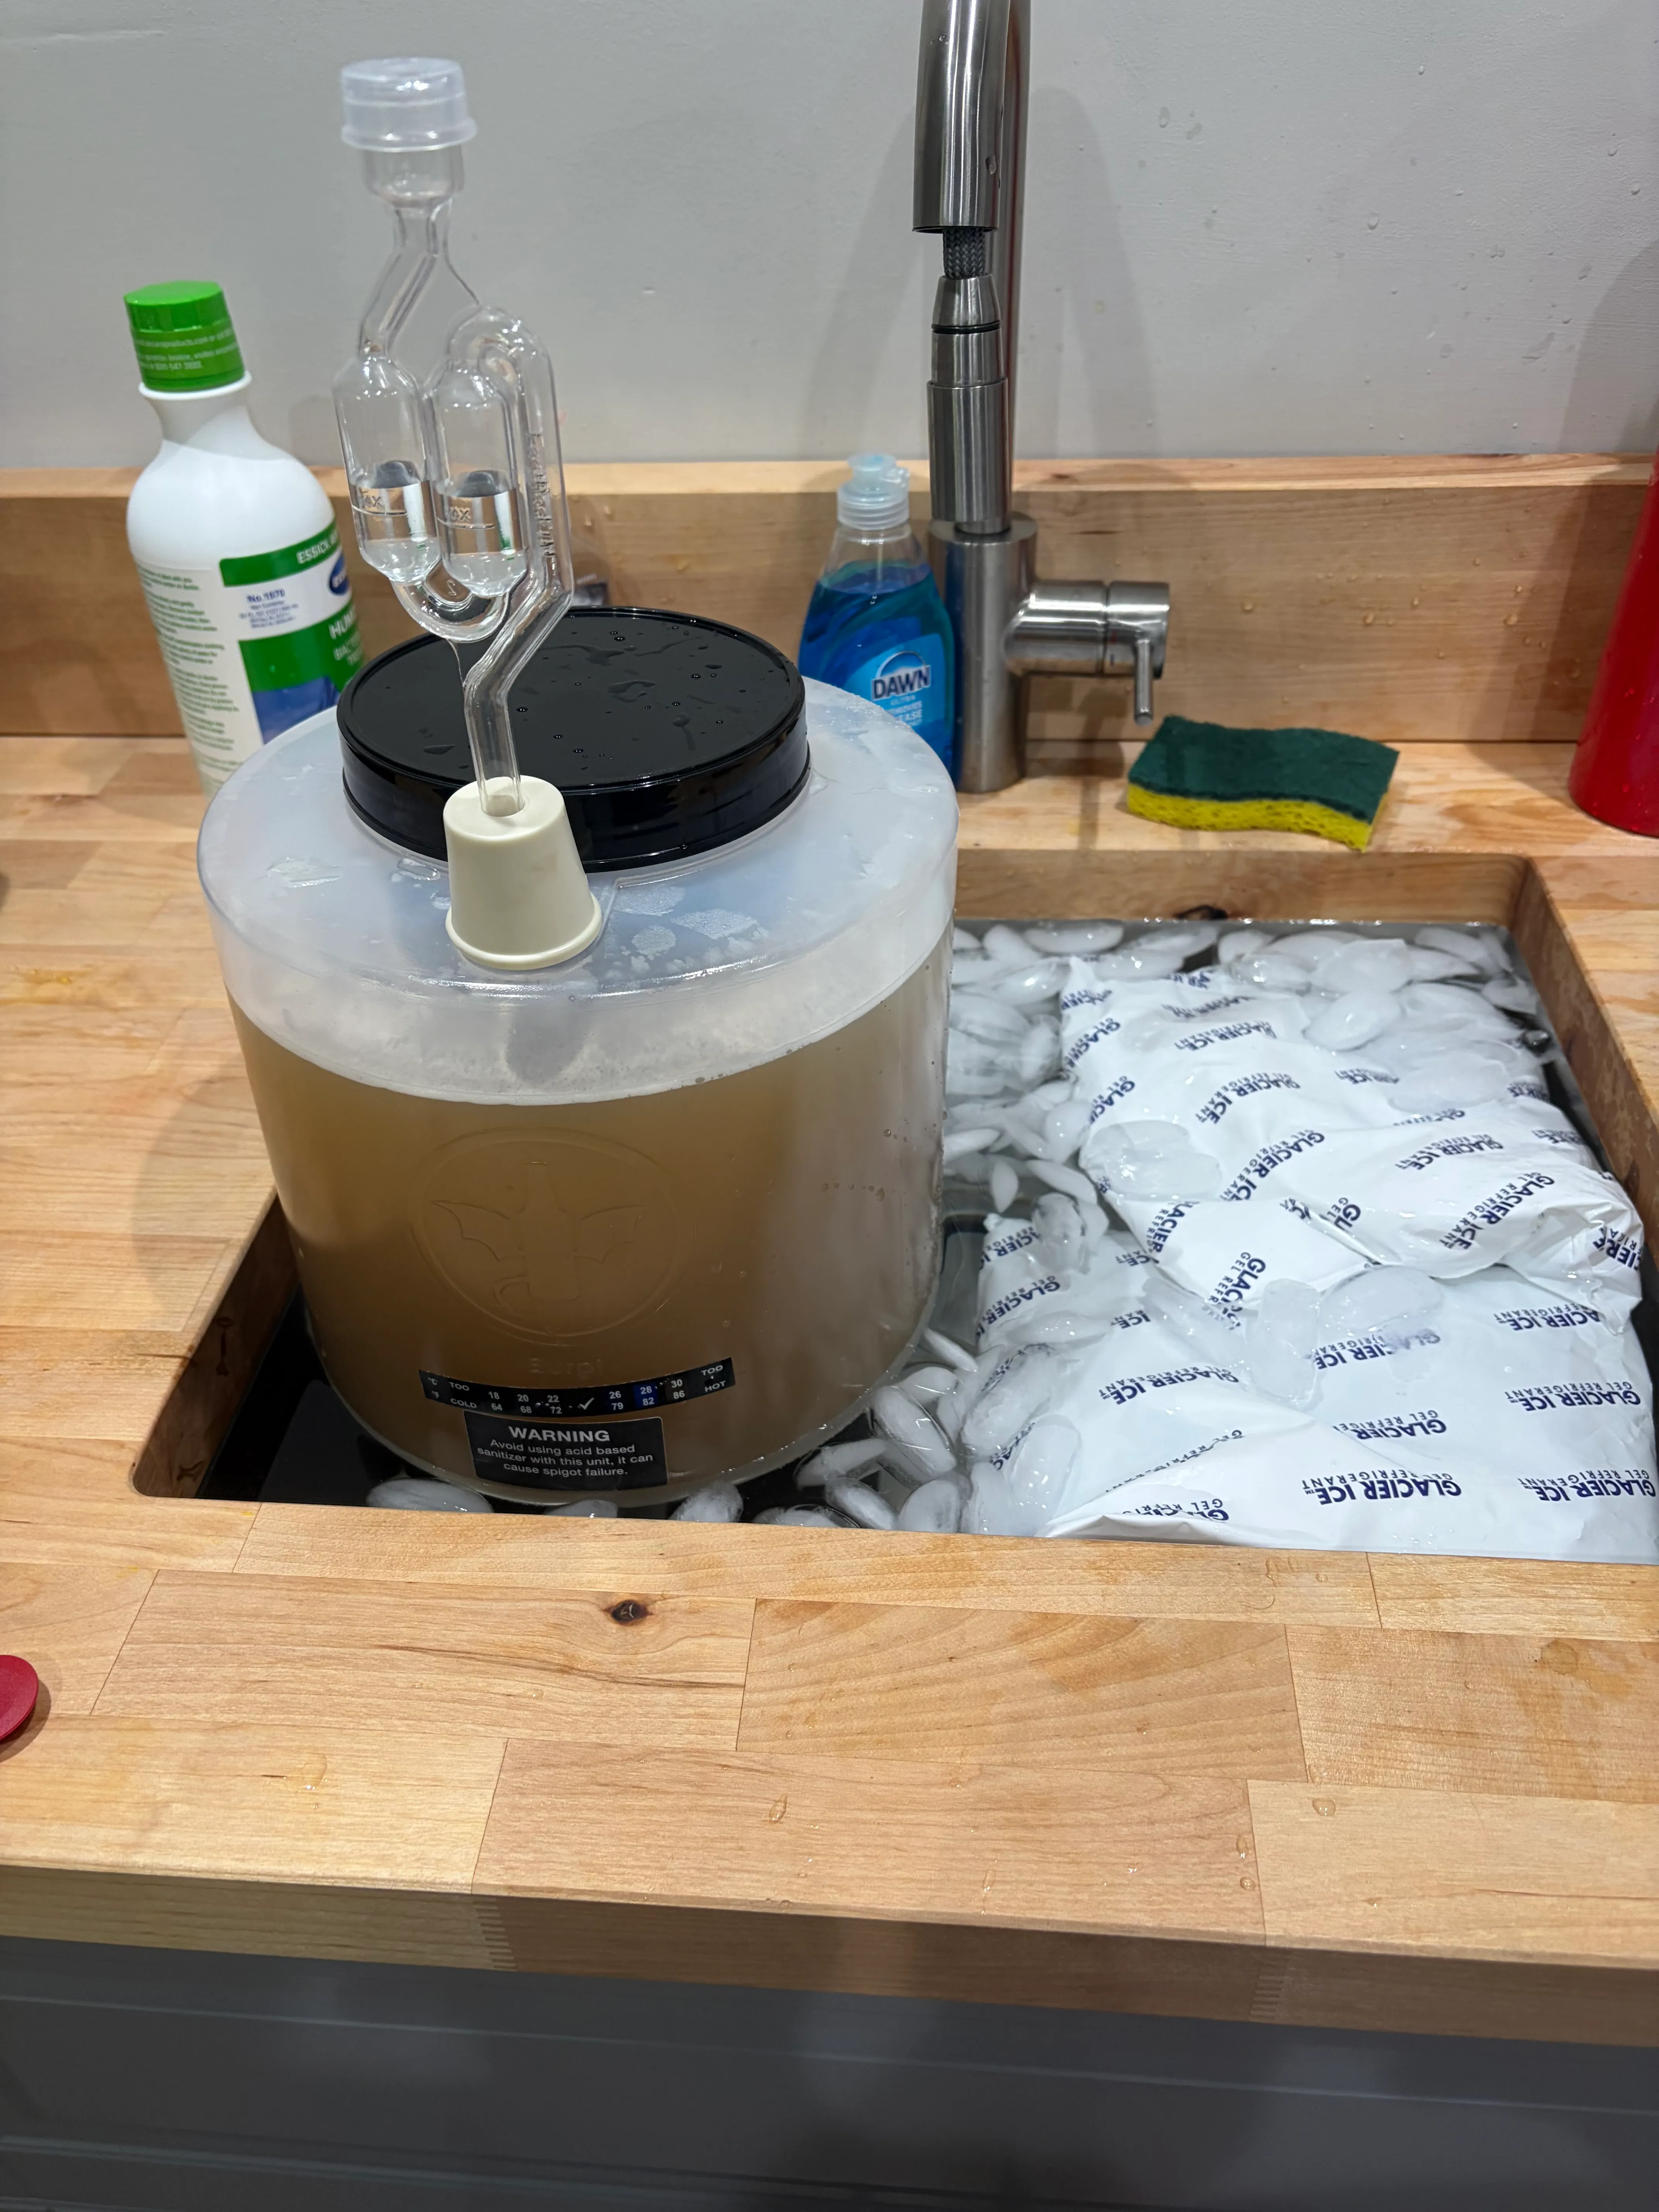
So the conical is sitting in a water bath in the basement sink, and I’m rotating frozen ice bags through it — pull one, refreeze it, put another in, twice a day for the first several days while the fermentation is at its most vigorous. Water is the key: it wraps the whole vessel and buffers the swings, so the yeast see a steady temperature instead of a cold shock every time a bag goes in. The must was at 66 °F (19 °C) at pitch and that’s where I’m holding it. After the first five days or so, when the fermentation calms down, I’ll let it come up to room temperature on its own.
The ice-bag shuffle is a fine solution for one batch. It is not a fine solution for the four more batches in the queue. A chest freezer with a temperature controller is going in before the next cool-fermented batch, and that build gets its own post.
The new fermenter — and the part I forgot to check
Two-plus gallons doesn’t fit in the wide-mouth gallon jars from Batch One, so this batch christened a three-gallon conical fermenter. The appeal of a conical is the cone: yeast and sediment collect at the bottom, and there’s a valve to drain them off without siphoning the whole batch. Cleaner racking, less handling, less oxygen.
The thing I didn’t check is that it doesn’t come with a drilled stopper for the airlock. I found this out with a fermenter full of must. Right now the airlock is sitting in a stopper that doesn’t seal properly. In the first days of fermentation this genuinely doesn’t matter — the yeast are pumping out carbon dioxide and nothing is getting in — and I’m opening the lid twice a day anyway to aerate. The proper stopper is on order and goes in before I close the batch up for good. Still: an inventory of the parts before brew day would have taken thirty seconds. Chalk it up.
Feeding it properly this time
On the first brew day I mentioned TOSNA — the modern staggered-nutrient protocol — and promised I’d run the full version on Batch Two. Here it is: about eight and a half grams of Fermaid O total for this volume, weighed out on a scale into four equal doses of about two grams, added at 24, 48, and 72 hours and once more when a third of the sugar is gone. Feeding the yeast in stages, timed to when they’re actually multiplying, is supposed to give a cleaner and calmer fermentation than one big dump. I’ll be able to compare it directly against Batch One’s simpler approach — same base recipe, same honey style, better nutrition. That’s the whole point of doing these in a series.
What happens next
The must gets aerated and fed for three days, then sealed and left alone. EC-1118 is quick; I’d expect it to be dry — gravity somewhere around 0.995 to 1.000 — in two to three weeks. Two matching hydrometer readings a few days apart is the finish line. Then it splits into two one-gallon carboys and the batches finally become themselves:
- Batch Two, the sparkling one: nothing gets added. No sulfite, no sorbate, none of the stabilizers I just used on Batch One — those would kill the very yeast I need for the bottle. Instead: a precise, measured amount of priming sugar dissolved into the whole batch, filled into pressure-rated swing-top bottles, and a few weeks at room temperature while the yeast carbonate it from the inside. That’s the set piece of this arc, and it comes with real tension, because getting the sugar wrong is how you get exploding glass. I’ll walk through the safety math when we get there.
- Batch Three, the apricot one: dried apricots go into the secondary — sun-dried and unsulphured, which means a slightly darker mead and zero preservatives to fight the yeast. Fruit goes in after primary, not before, so I control the base first and keep the aroma. The bag of apricots is already in the freezer: freezing and thawing dried fruit bursts the cell walls and helps it give up its flavor. Then it’s taste weekly, and pull the fruit the moment it reads right.
Meanwhile, Batch One
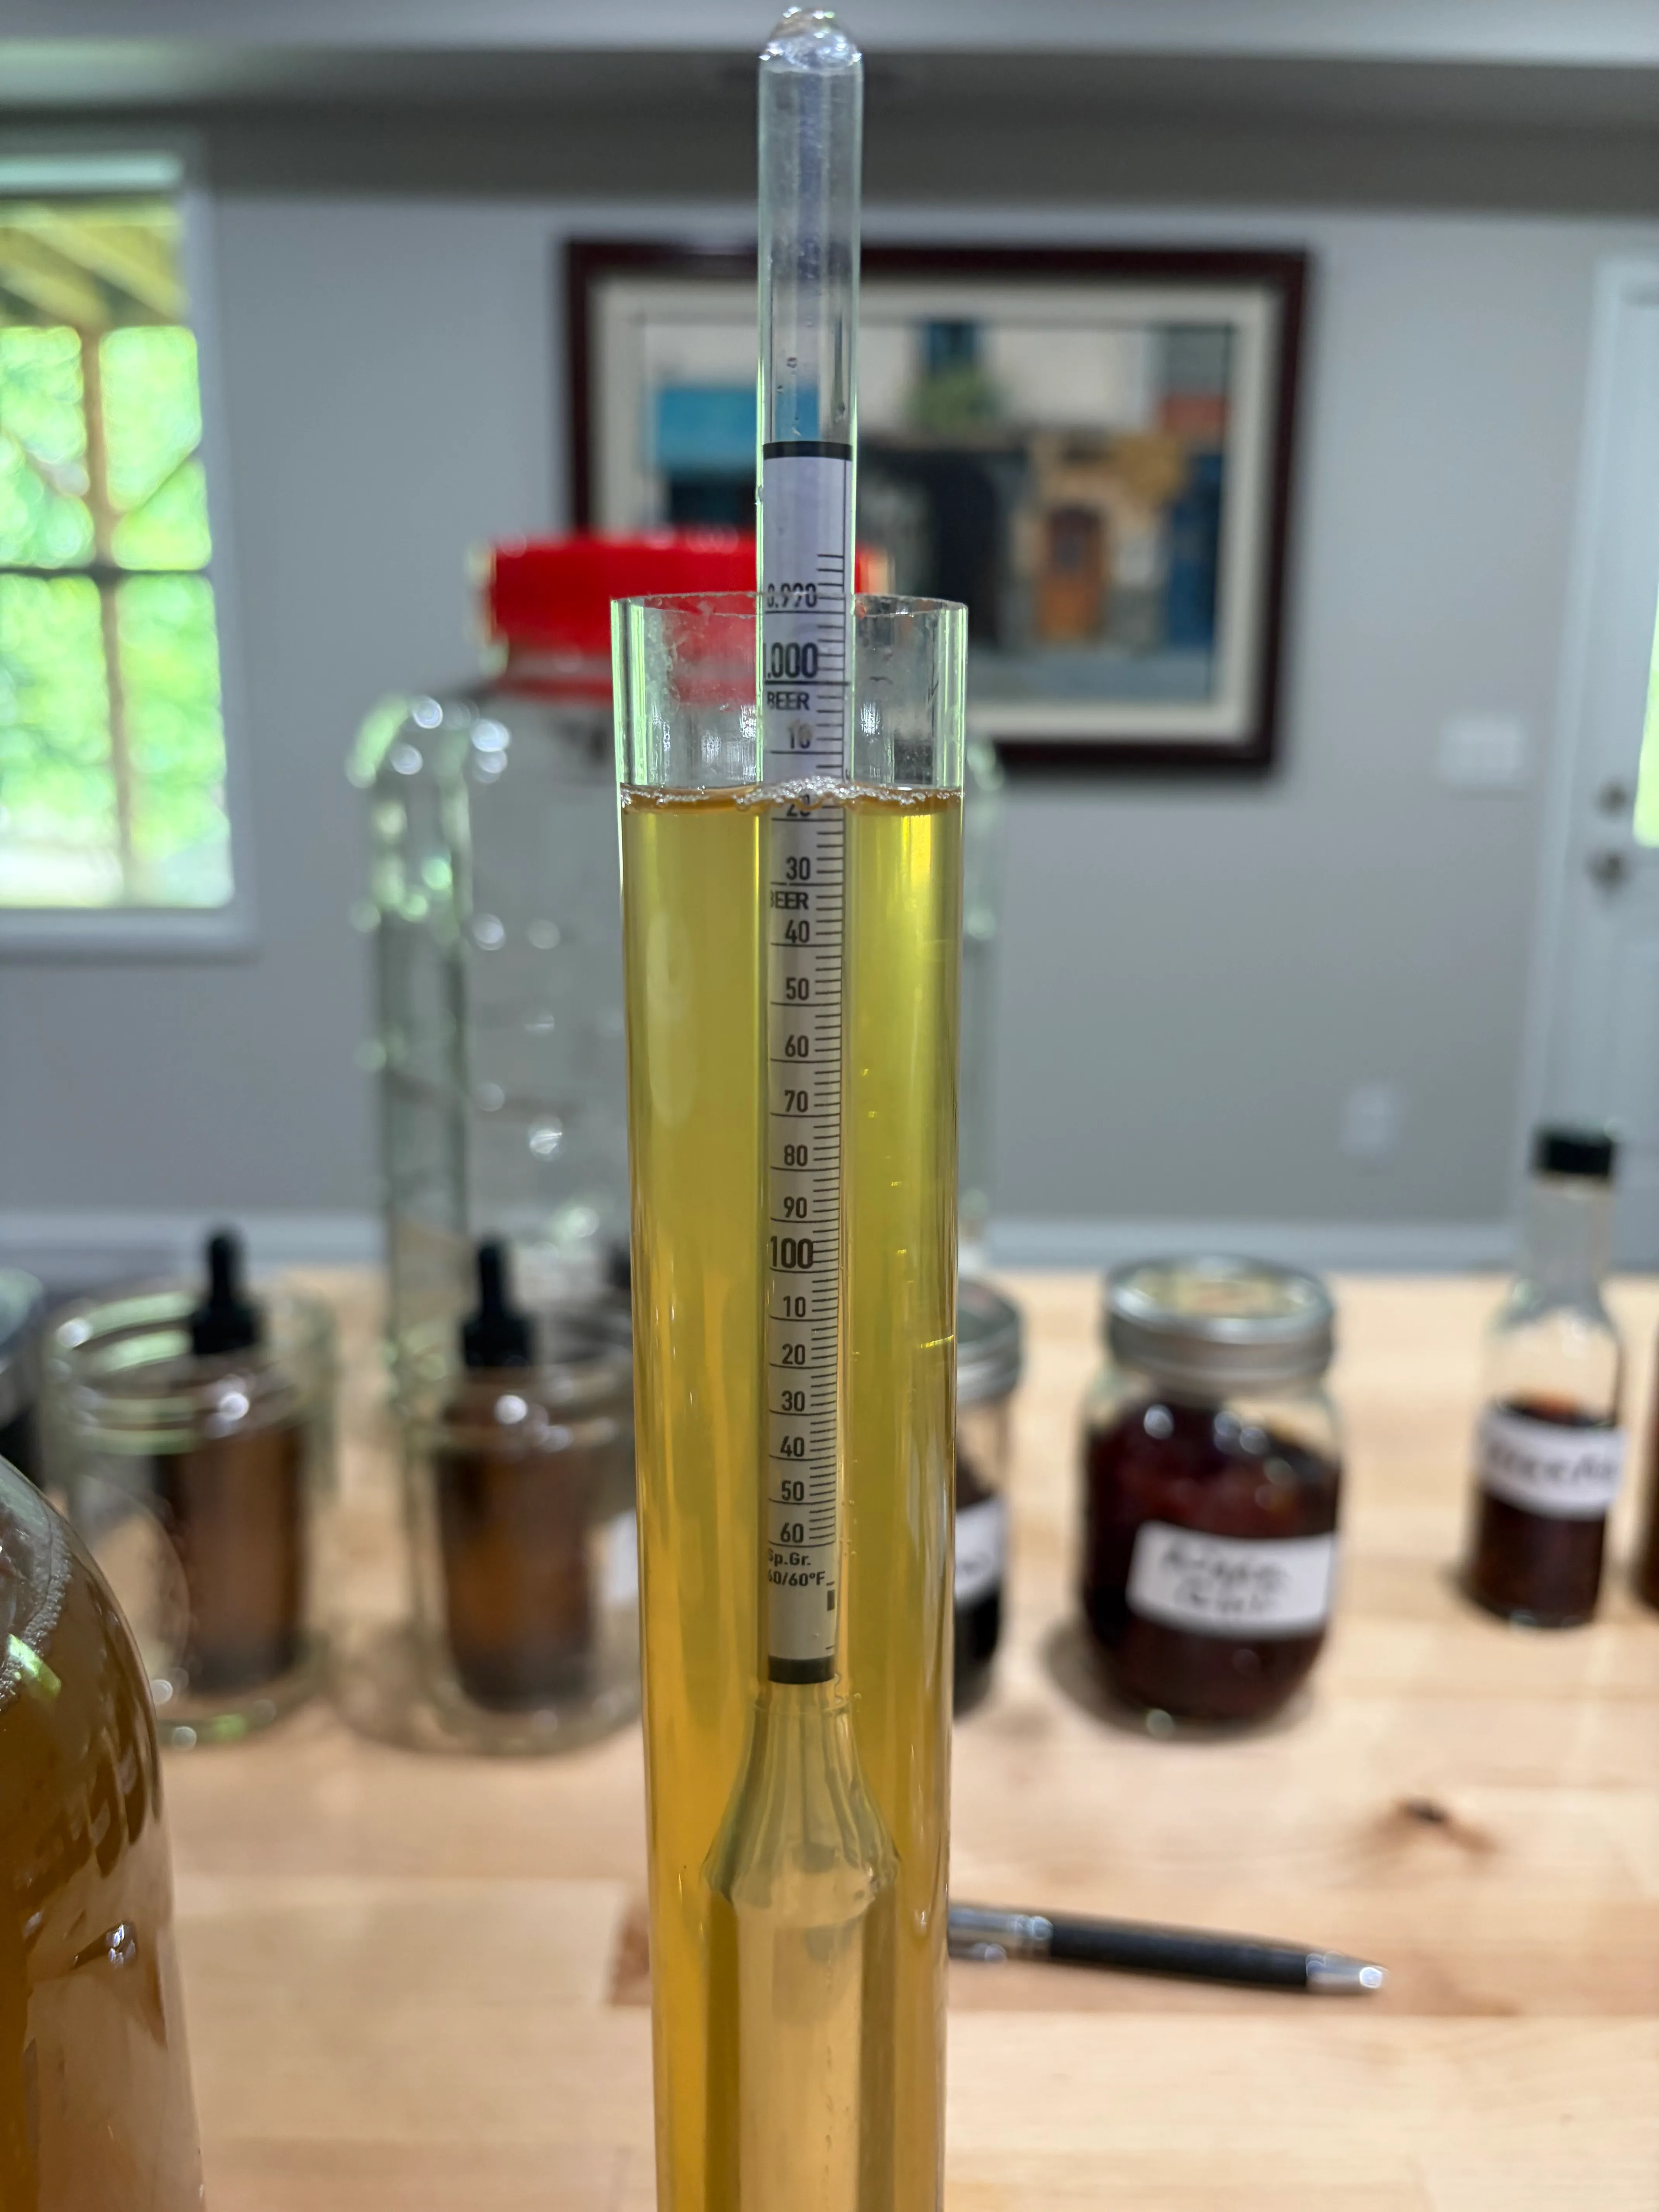
The first batch came off its oak and vanilla, was racked to a clean carboy, stabilized, and — after a round of little bench-trial samples with a scale and a hundred-milliliter glass — sweetened just off-dry, to a gravity of 1.005. It’s now in the refrigerator for a week to cold-crash and drop clear. Bottling day is next weekend. The bottle-drying tree arrives Wednesday.
Brew specs
| Spec | Value |
|---|---|
| Style | Traditional base → split: sparkling (Batch 2) / apricot melomel (Batch 3) |
| Batch size | ~2.25 gallons (target was 2 — see the honey-volume lesson) |
| Honey | ~6.1 lbs tupelo, Sweetwater Creek Honey Farm, Winston GA |
| Water | Spring water |
| Yeast | Lalvin EC-1118, 5 g, rehydrated with 6 g Go-Ferm |
| Nutrient | Fermaid O, full TOSNA — ~8.4 g in 4 × ~2.1 g at 24 / 48 / 72 h + ⅓ sugar break |
| OG | 1.091 |
| Fermenter | 3-gallon conical, water bath in the sink, ice bags rotated 2×/day |
| Must temp at pitch | 66 °F (19 °C), holding 64–68 °F through the active phase |
| Target | Dry, ~12% ABV; then split — prime + bottle-condition / dried apricot in secondary |
Same base as Batch One, one grade up in honey, one grade up in technique. Ask me in three weeks whether any of it shows in the glass.