
Batch One: Brew Day
I have been wanting to make wine for years, but the availability of good grapes in Georgia is lacking. I am not a fan of making wine from kits. While the resulting wine is ok, I would hardly call it good. Honey, and frankly great honey, is available everywhere from local bee keepers (please don’t use the stuff from the grocery store!), so I figured mead would be the easy version — honey, water, yeast, wait. I REALLY wanted to have a new hobby to fill my time now that my son is grown and off on his own and I needed another creative outlet that was related to my existing hobbies (cooking/grilling/smoking foods), but that would allow me a different challenge. My only other hobby is working with my AI Assistant, Nakomi, who co-authors this blog (well, she does all of the grunt work and I take the credit anyway). Saturday I found out that mead has its own opinions. Nothing worthwhile is ever easy, so off we go!
This is the first post in the Batch 1 log. I’m writing these as they happen, mistakes included, because the polished version you find on brewing forums never tells you what a first batch actually feels like.
The lineup
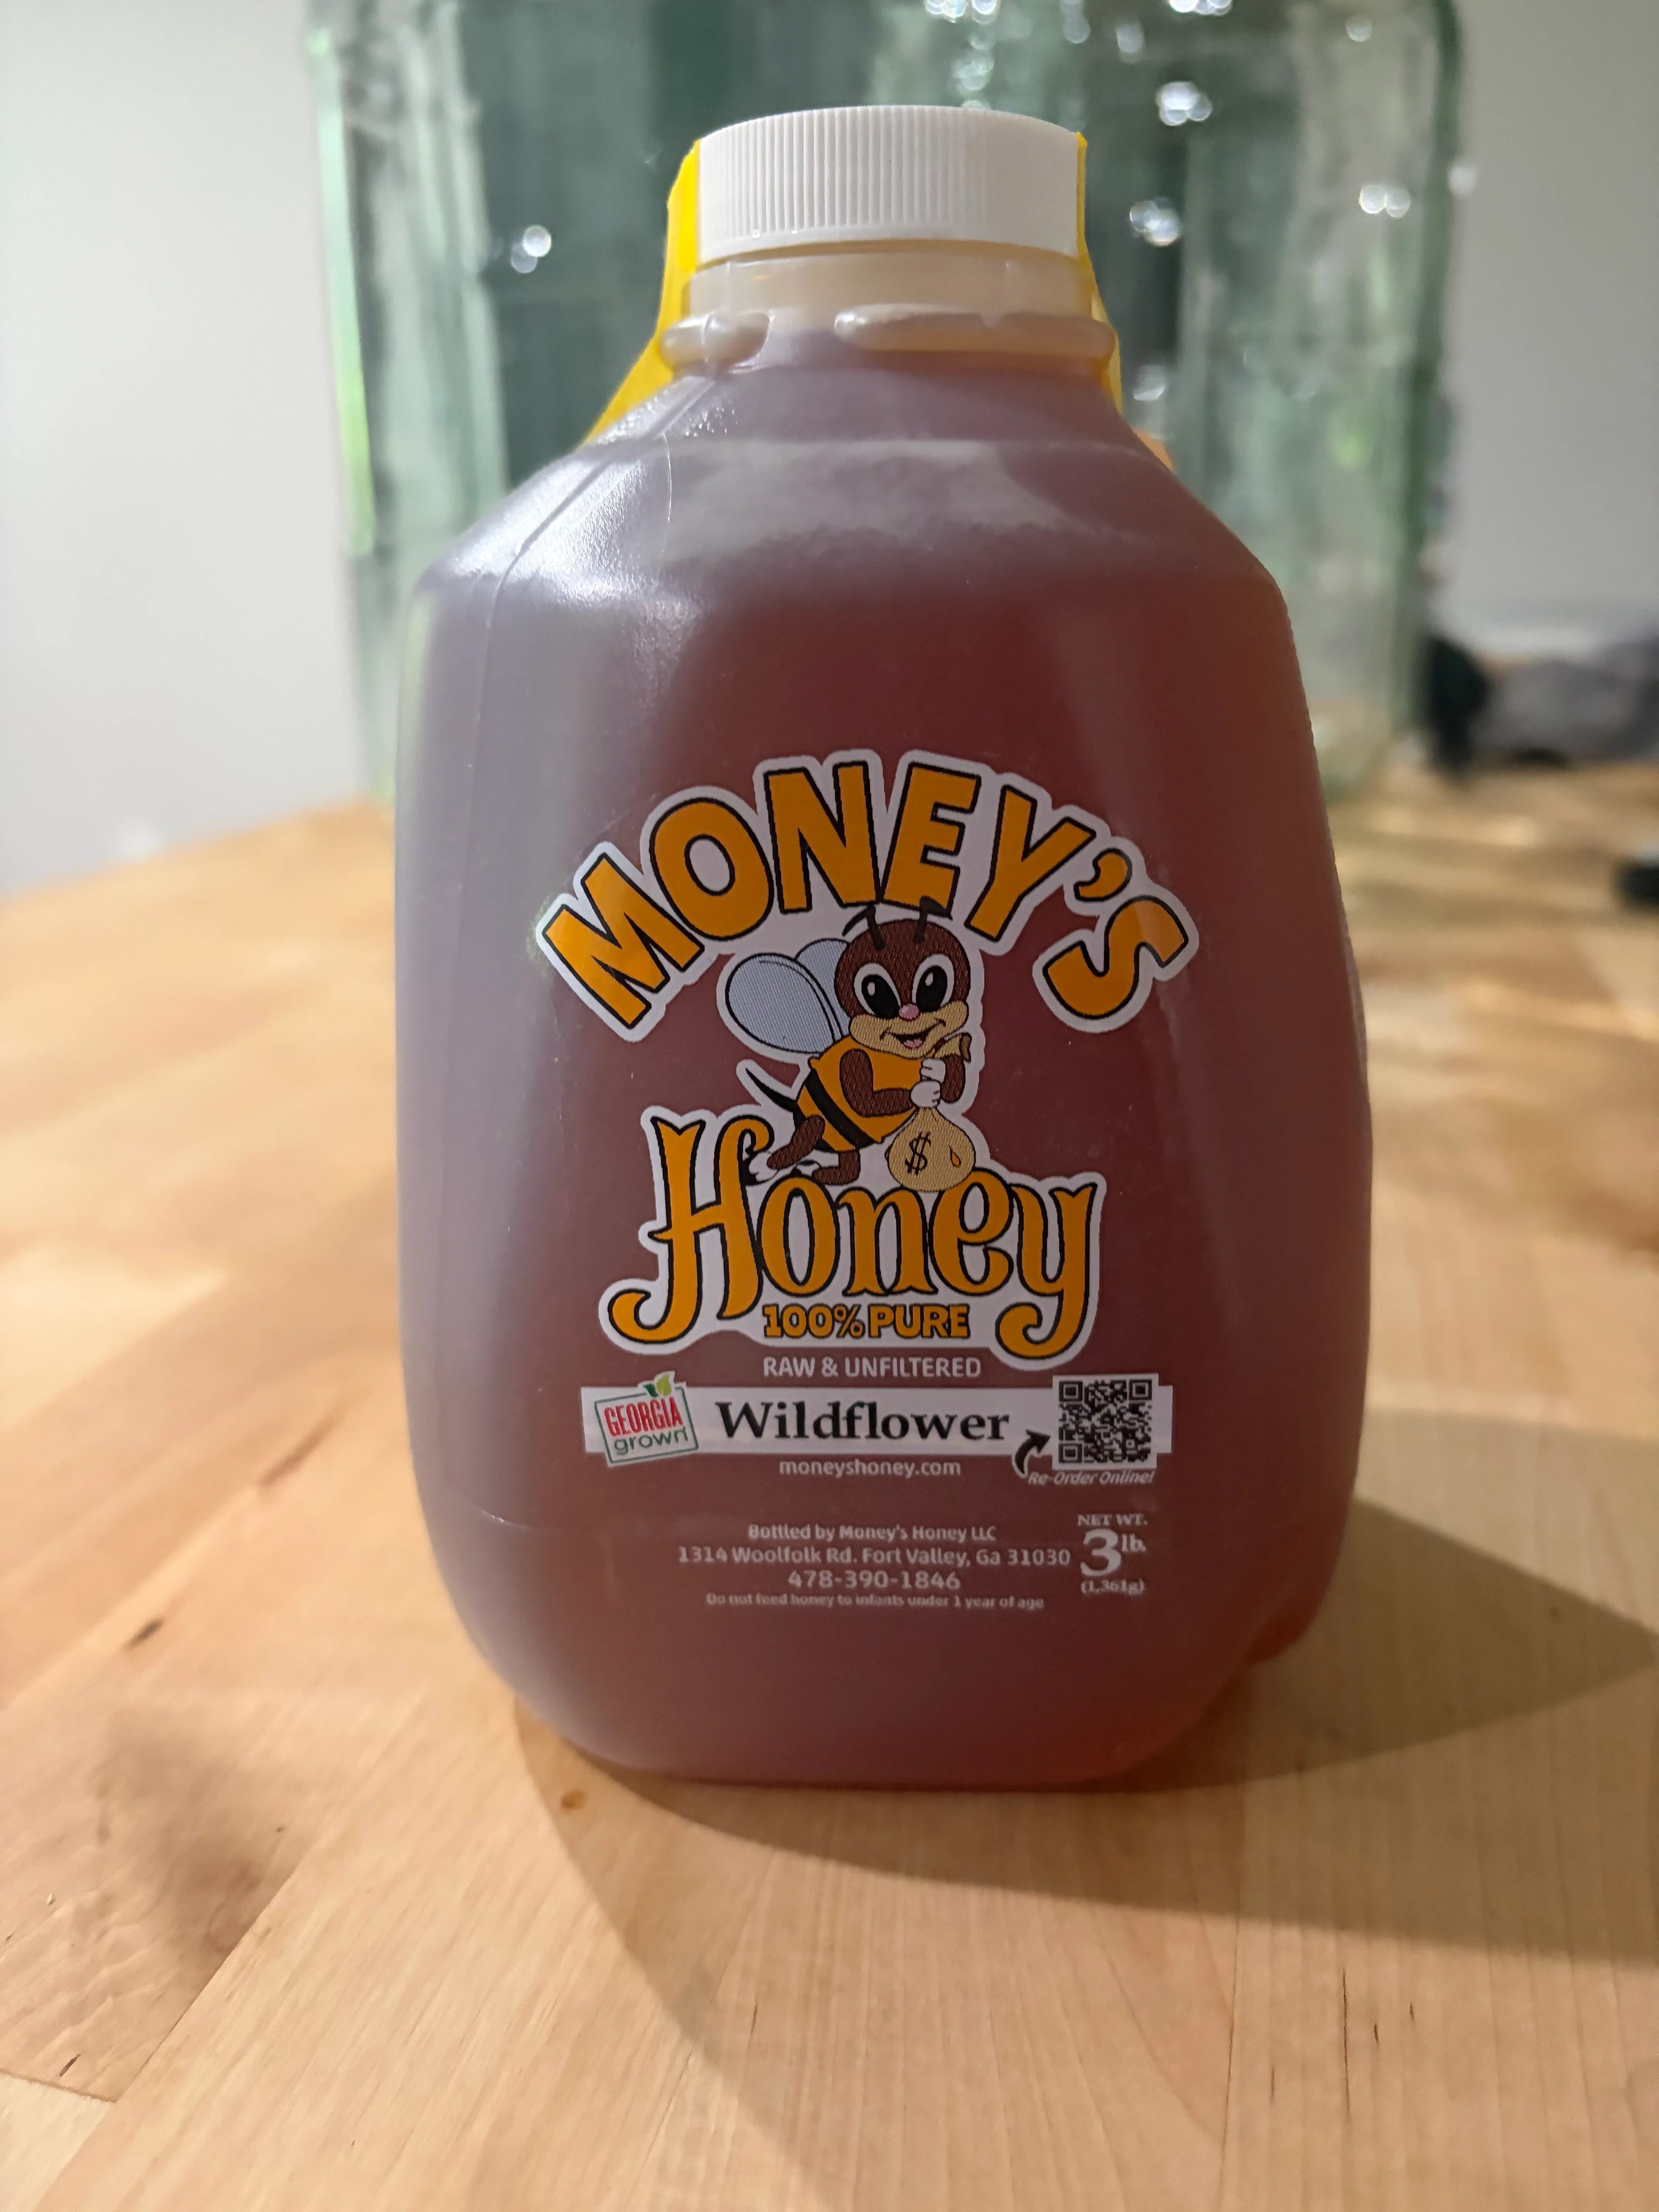
Three pounds of Money’s Honey Wildflower (@moneyshoneybees) — raw, unfiltered, Georgia grown. For a one gallon batch, three pounds puts you in traditional territory: strong enough to matter, not so much sugar that the yeast gives up early.
The rest of the shopping list:
- 1 gallon Crystal Geyser spring water
- Lalvin 71B yeast (5 g packet)
- Fermaid O yeast nutrient, about a tablespoon at pitch
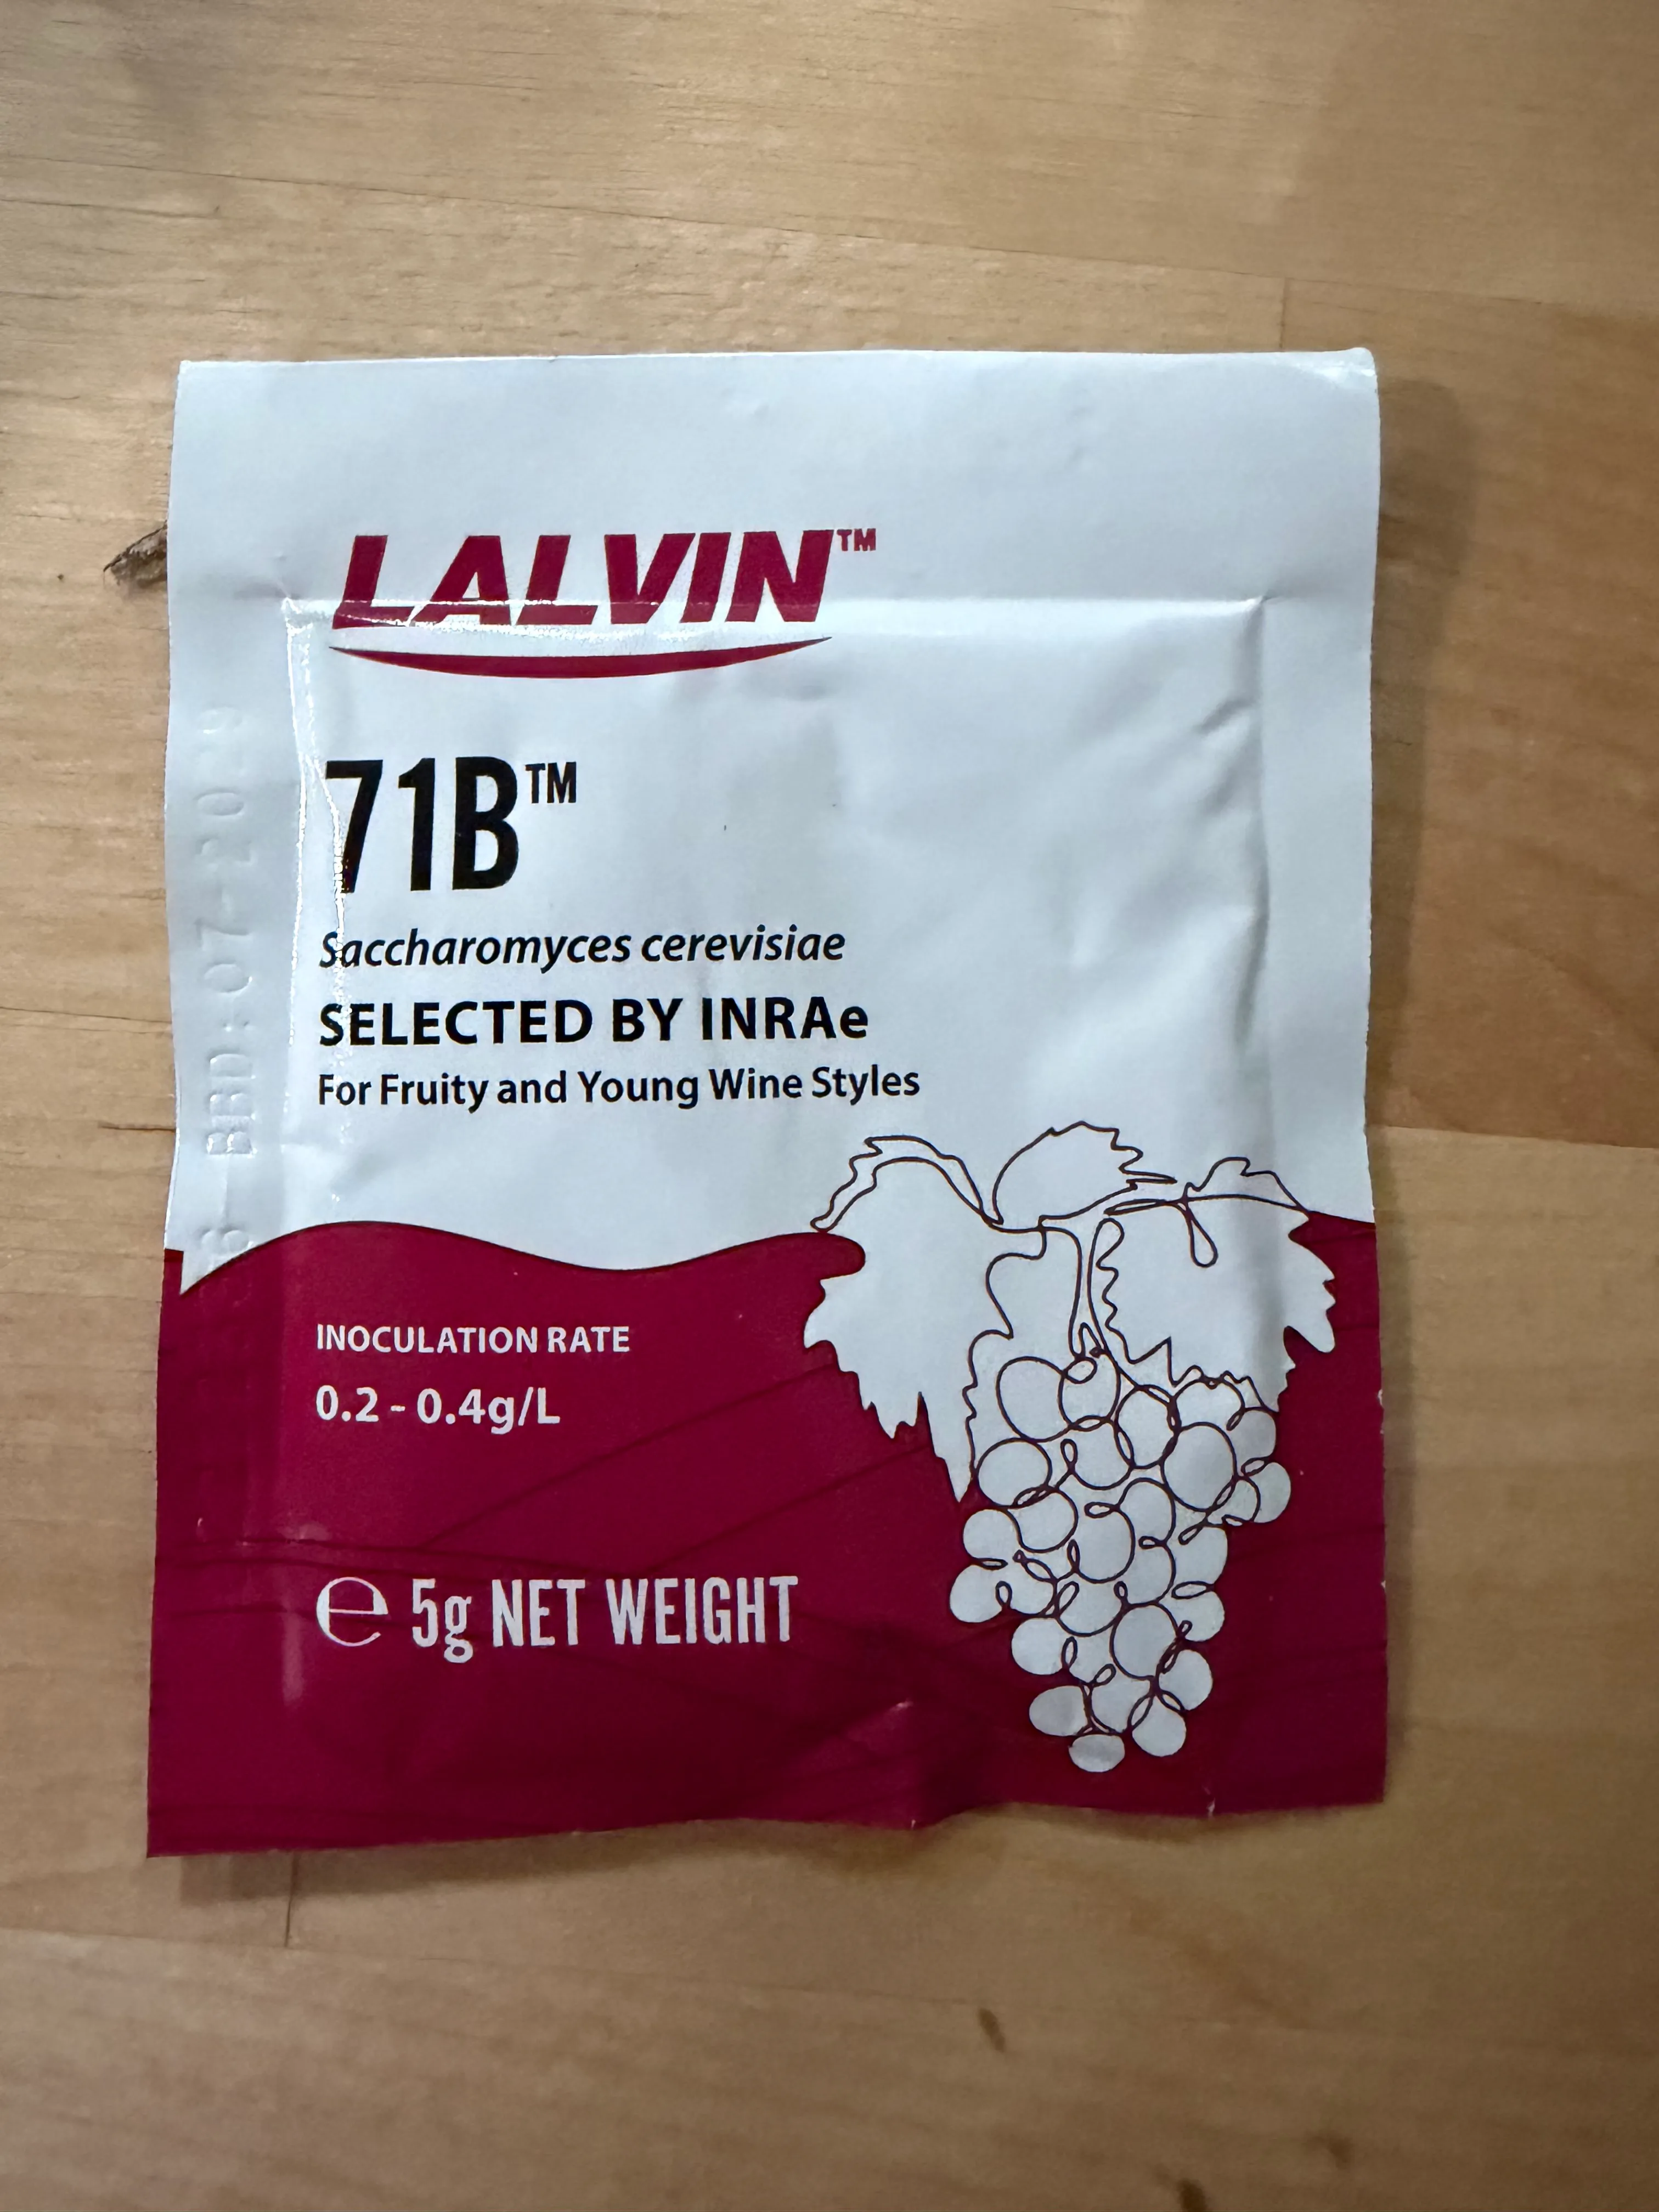
The plan actually called for RC212. What got pitched was 71B. The original recipe is 20 years old. Mead making has come a long way since then (even though it is arguably the oldest alcoholic beverage in existence) since 2006 when the recipe I am using was published. The current recommendation is to go with newer wine yeasts. Lalvin 71B ferments up to roughly 14% final alcohol and finishes fruity, which suits a first traditional.
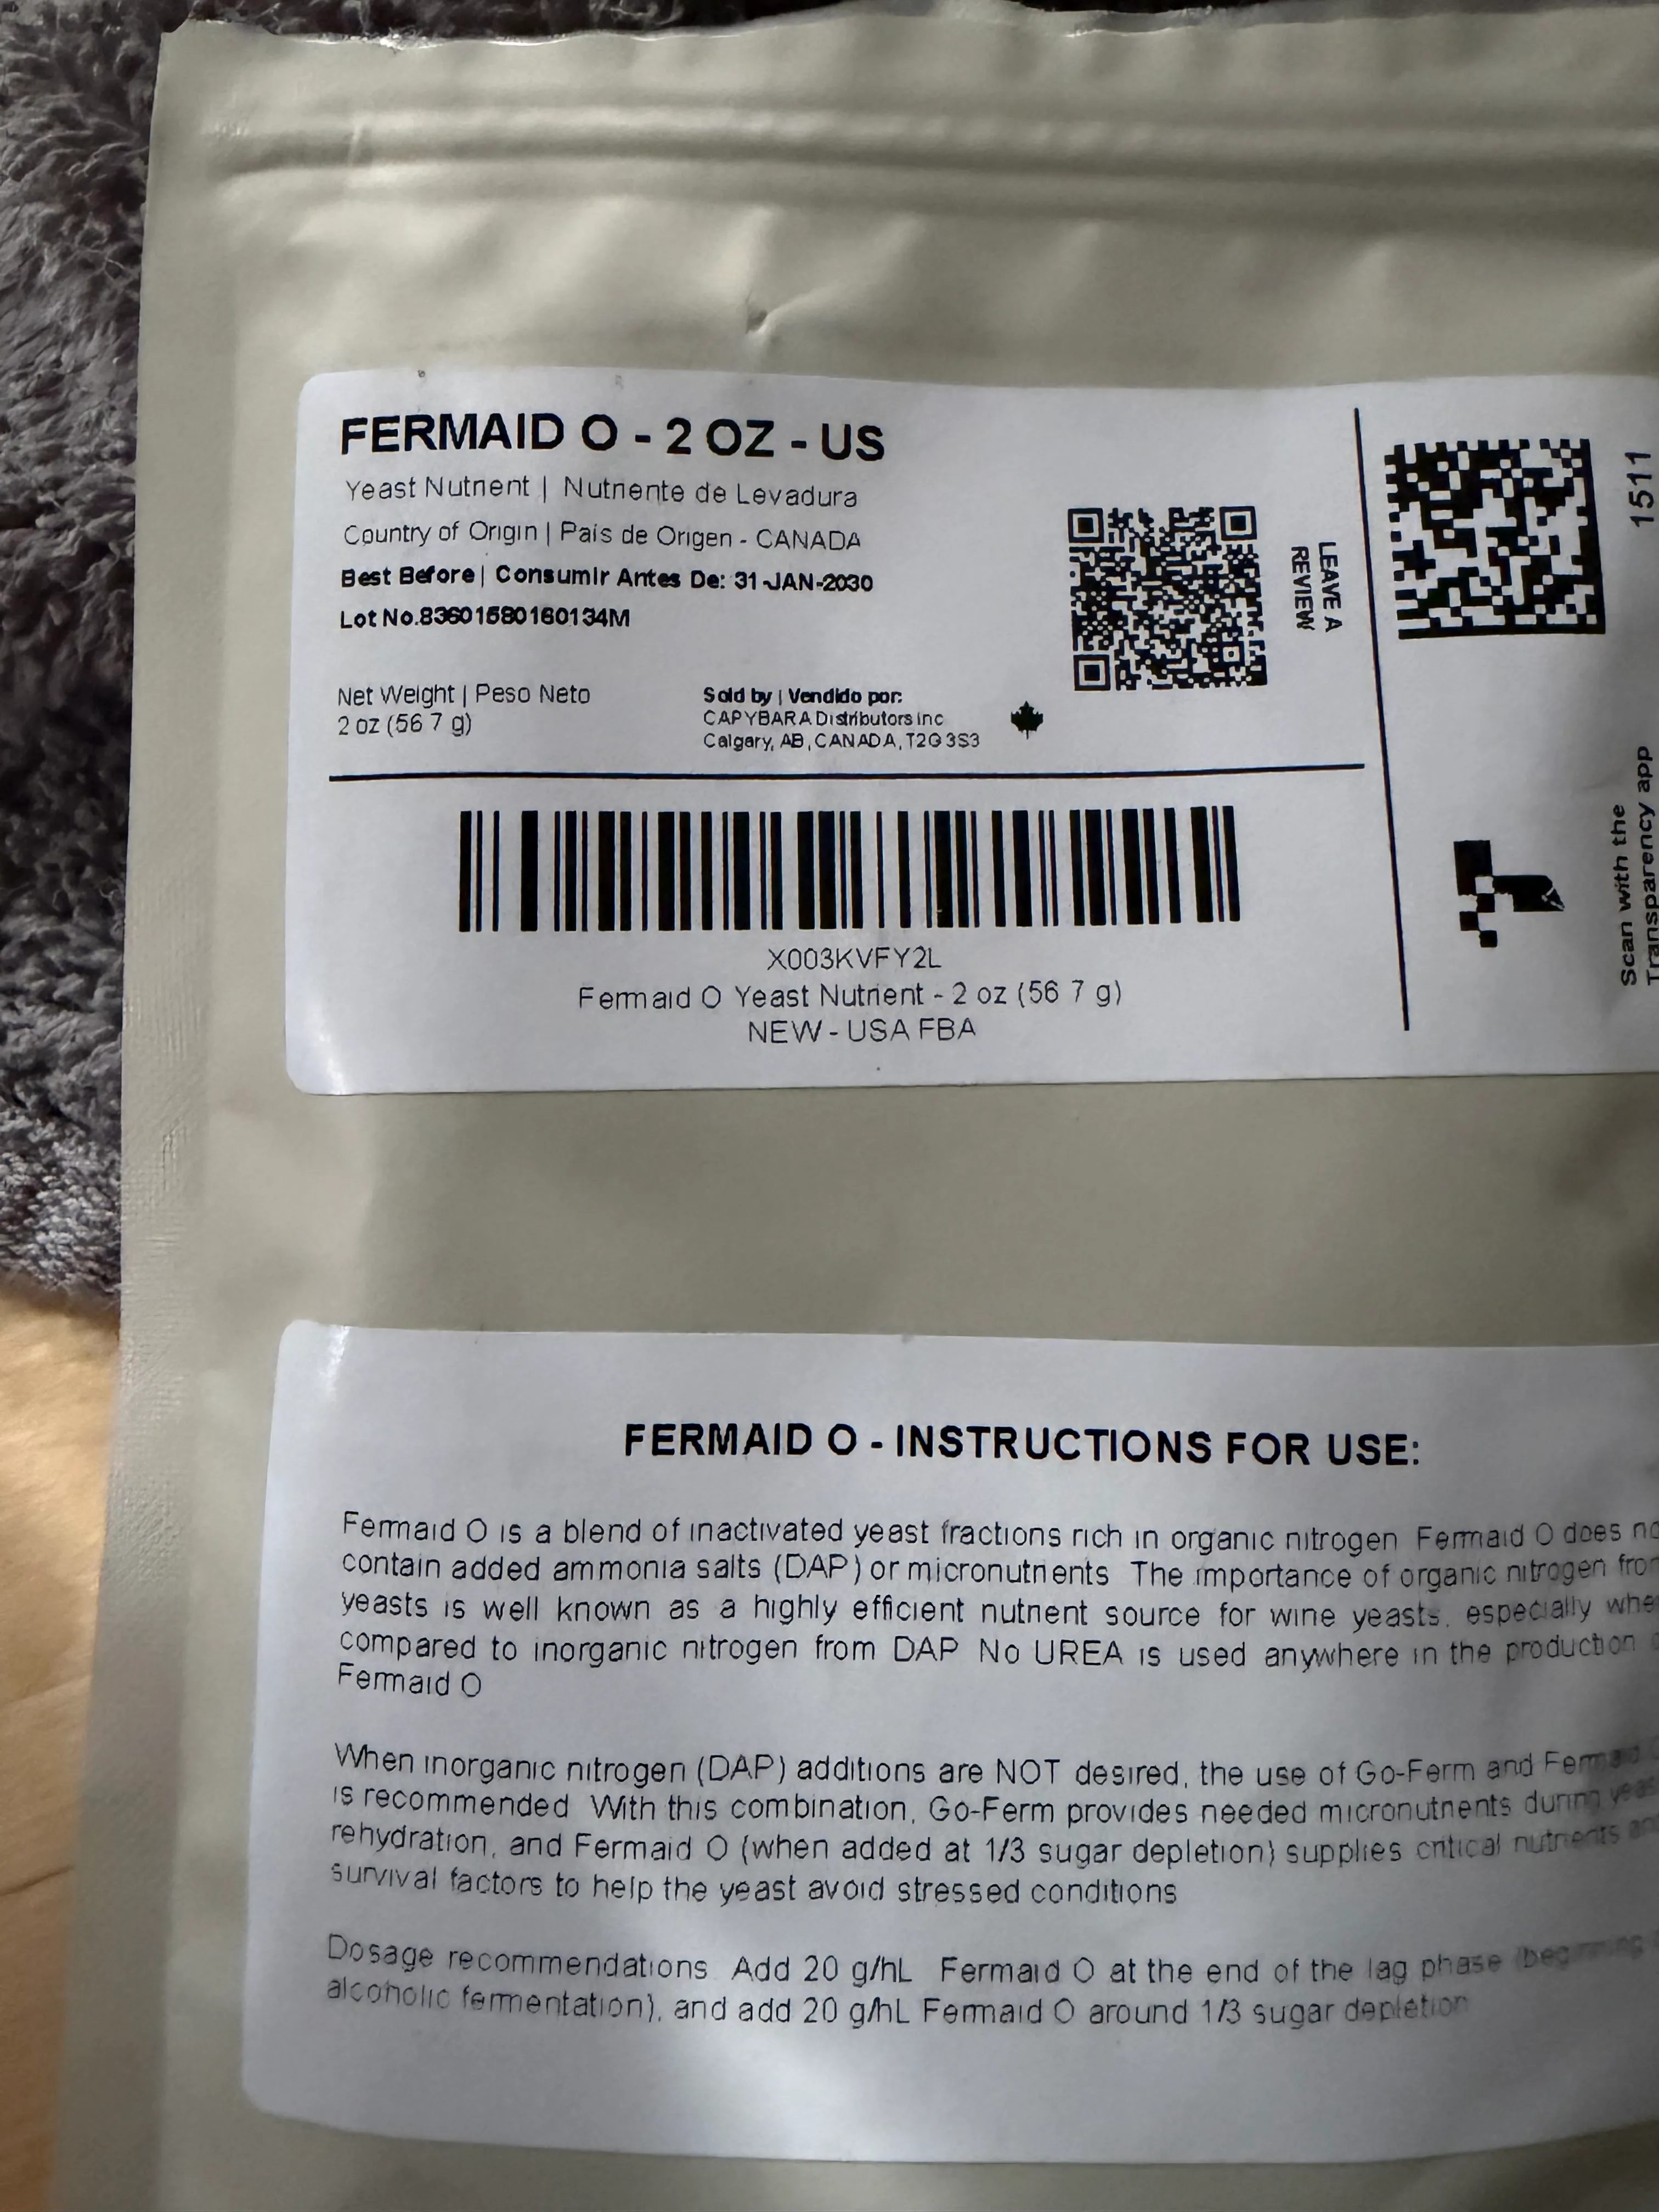
One correction I’m making in public: my notes from brew day said “Ferm B.” The packet says Fermaid O — and that’s not me misreading a label. Fermaid O has replaced Fermaid B on the market. Similar composition, similar job, new name on the bag. If you’re working off an older mead guide, this is one of those places where the recipe is right and the shopping list is stale.
The reason any of it matters: honey is nutrient-poor compared to grape must, so the yeast needs help or it stalls out and starts making rotten-egg smells. Fermaid O is purely organic nitrogen — no DAP, no urea — which means gentler flavor but you want to stagger the doses rather than dump it all in at the start.
The part where I argued with a hydrometer and lost
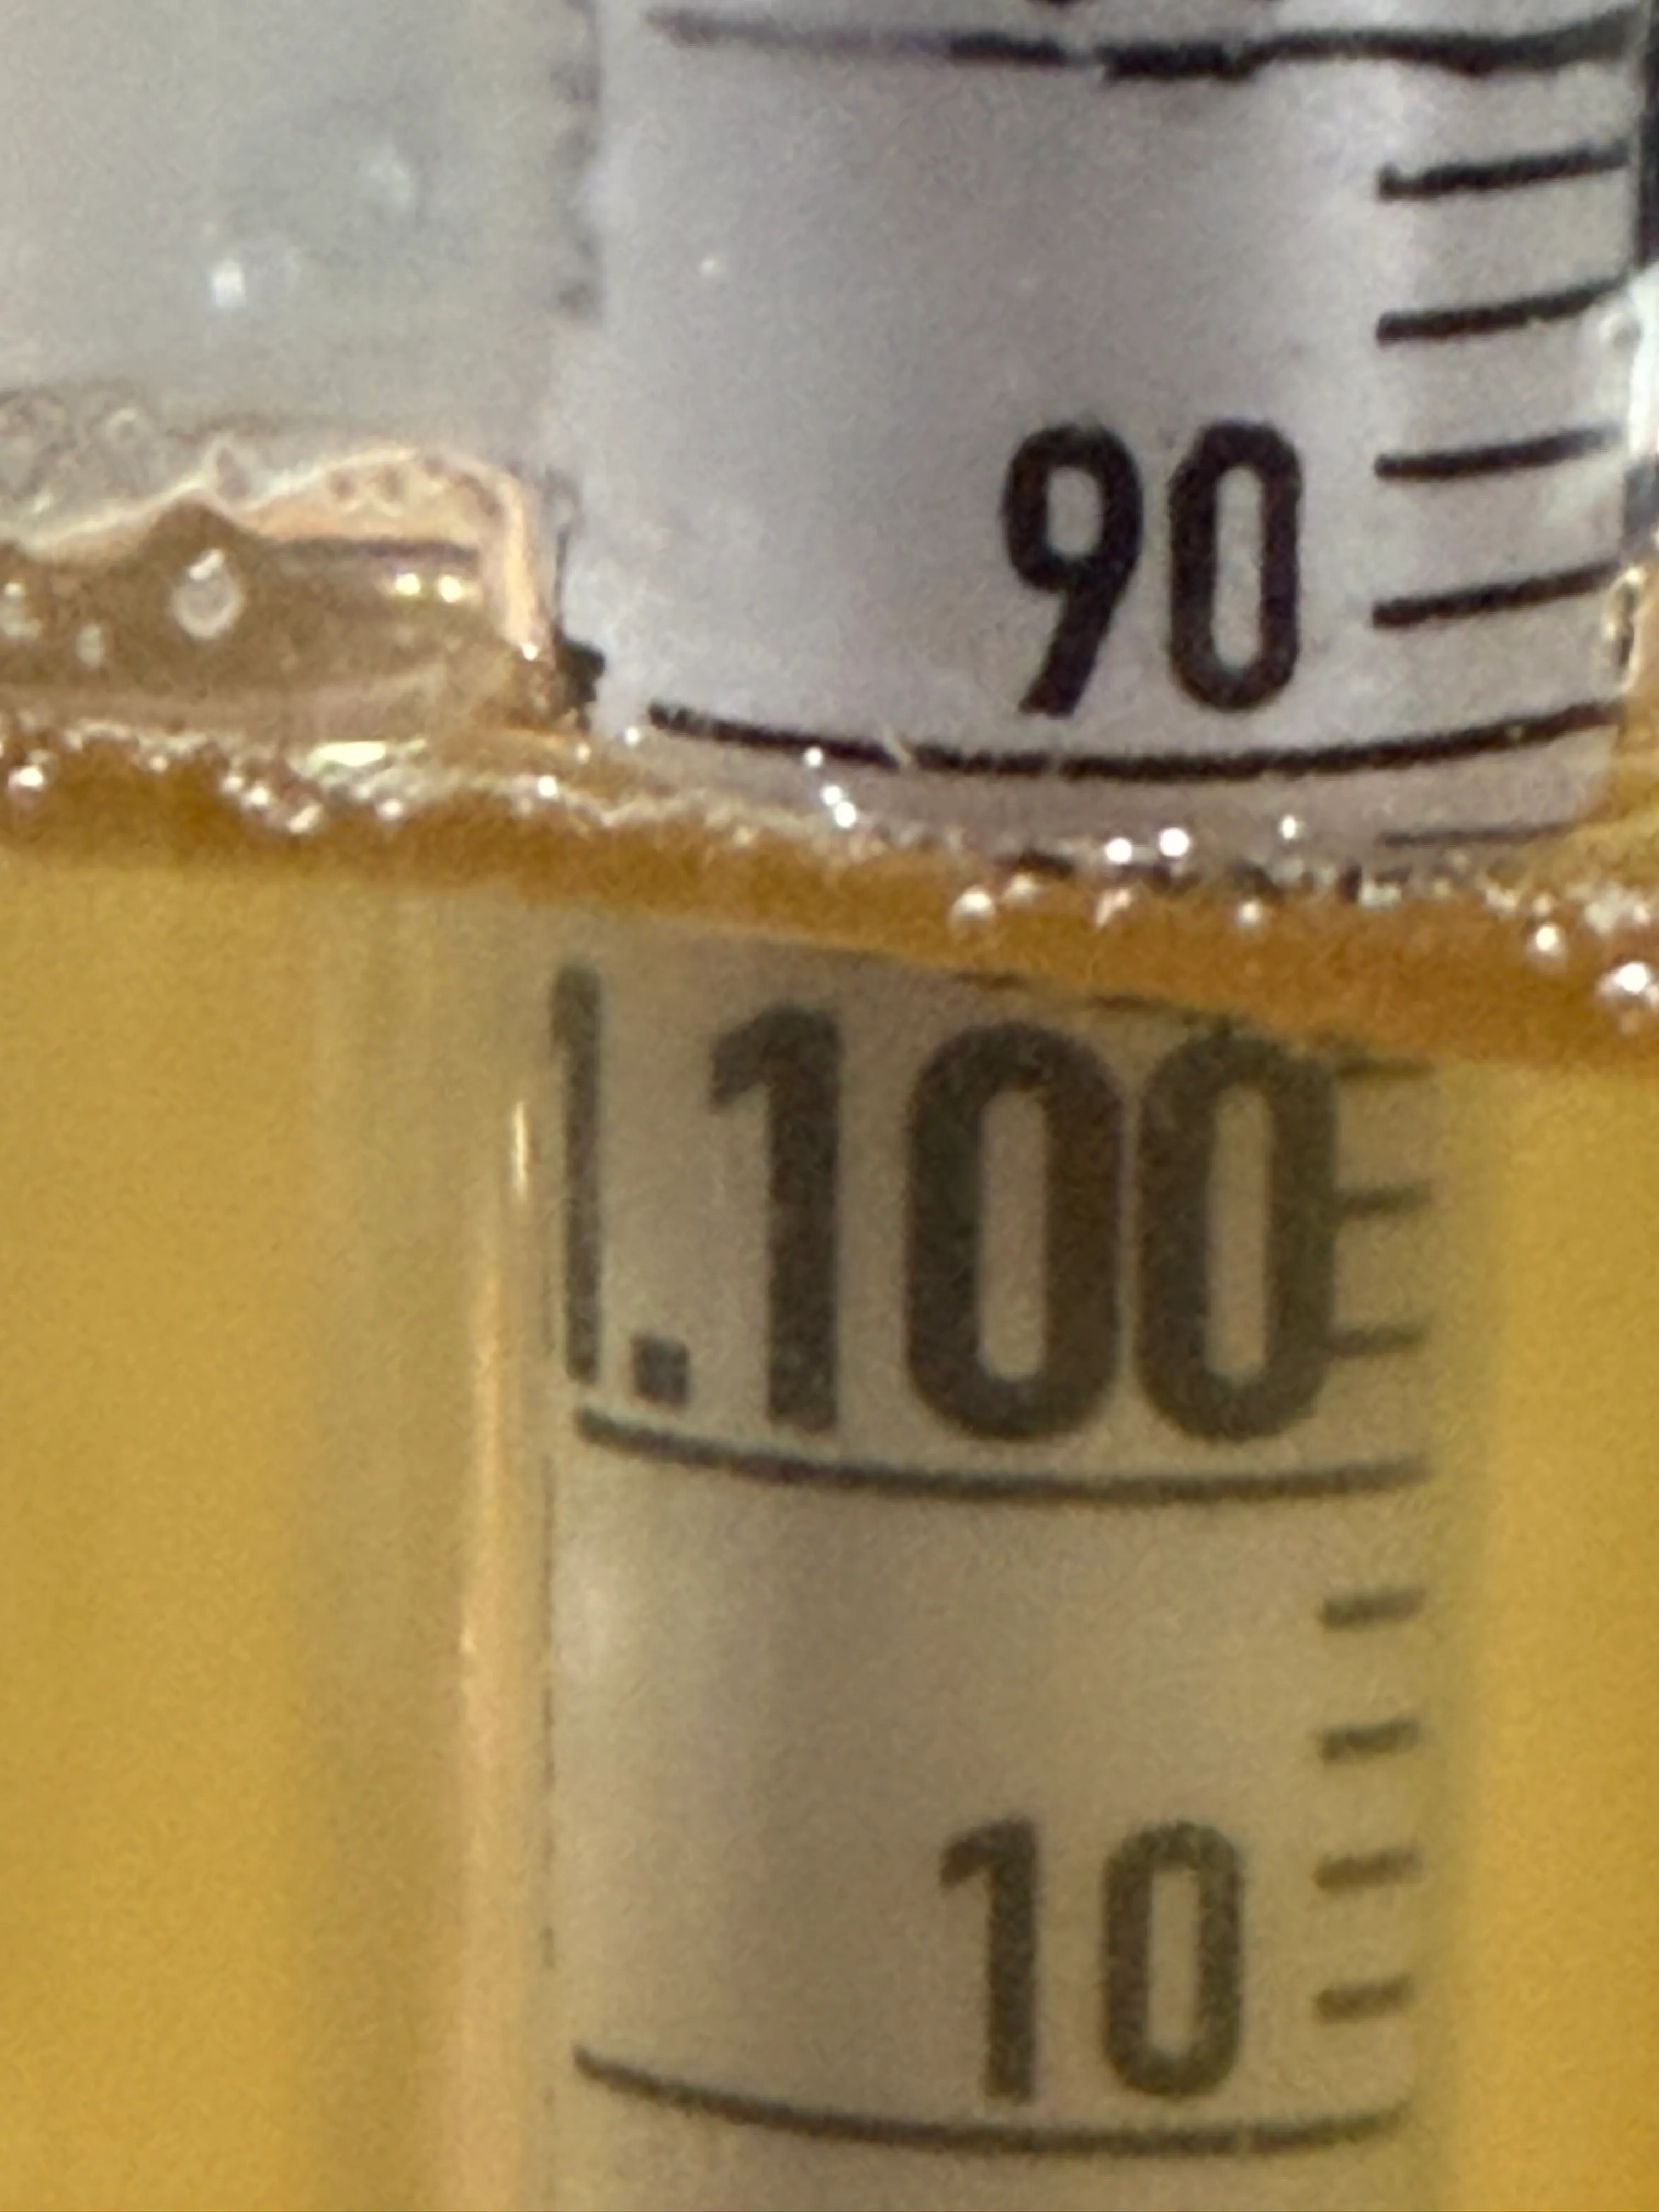
Brew-day reading: 1.090 original gravity, pH 4.1. That’s almost exactly what the math predicts — honey brings about 35 gravity points per pound, so three pounds in a gallon lands right about there.
The next day I looked again and convinced myself it said 1.180. I spent a good while working out how to rescue a batch that concentrated, doing dilution math, planning to split it across two vessels.
It said 1.090. It had always said 1.090. I misread my own hydrometer.
There’s a real lesson buried in the embarrassment, and it isn’t “be careful reading hydrometers.” It’s that the arithmetic was sitting right there the whole time. Three pounds of honey cannot produce 1.180 in a gallon of water — you’d need to have used about half the water. The number I thought I saw was physically impossible, and I started solving the problem instead of questioning the measurement. Check the reading against what the ingredients can actually do. If those two disagree, doubt the reading first.
So: OG is 1.090, no dilution, batch stays whole. And the next evening, stirred properly and read again, it came back 1.090 on the nose — no ambiguity this time. With 71B running to around 14%, it has plenty of room to ferment all the way dry — call it 12% or so when it’s done.
Pitched and parked
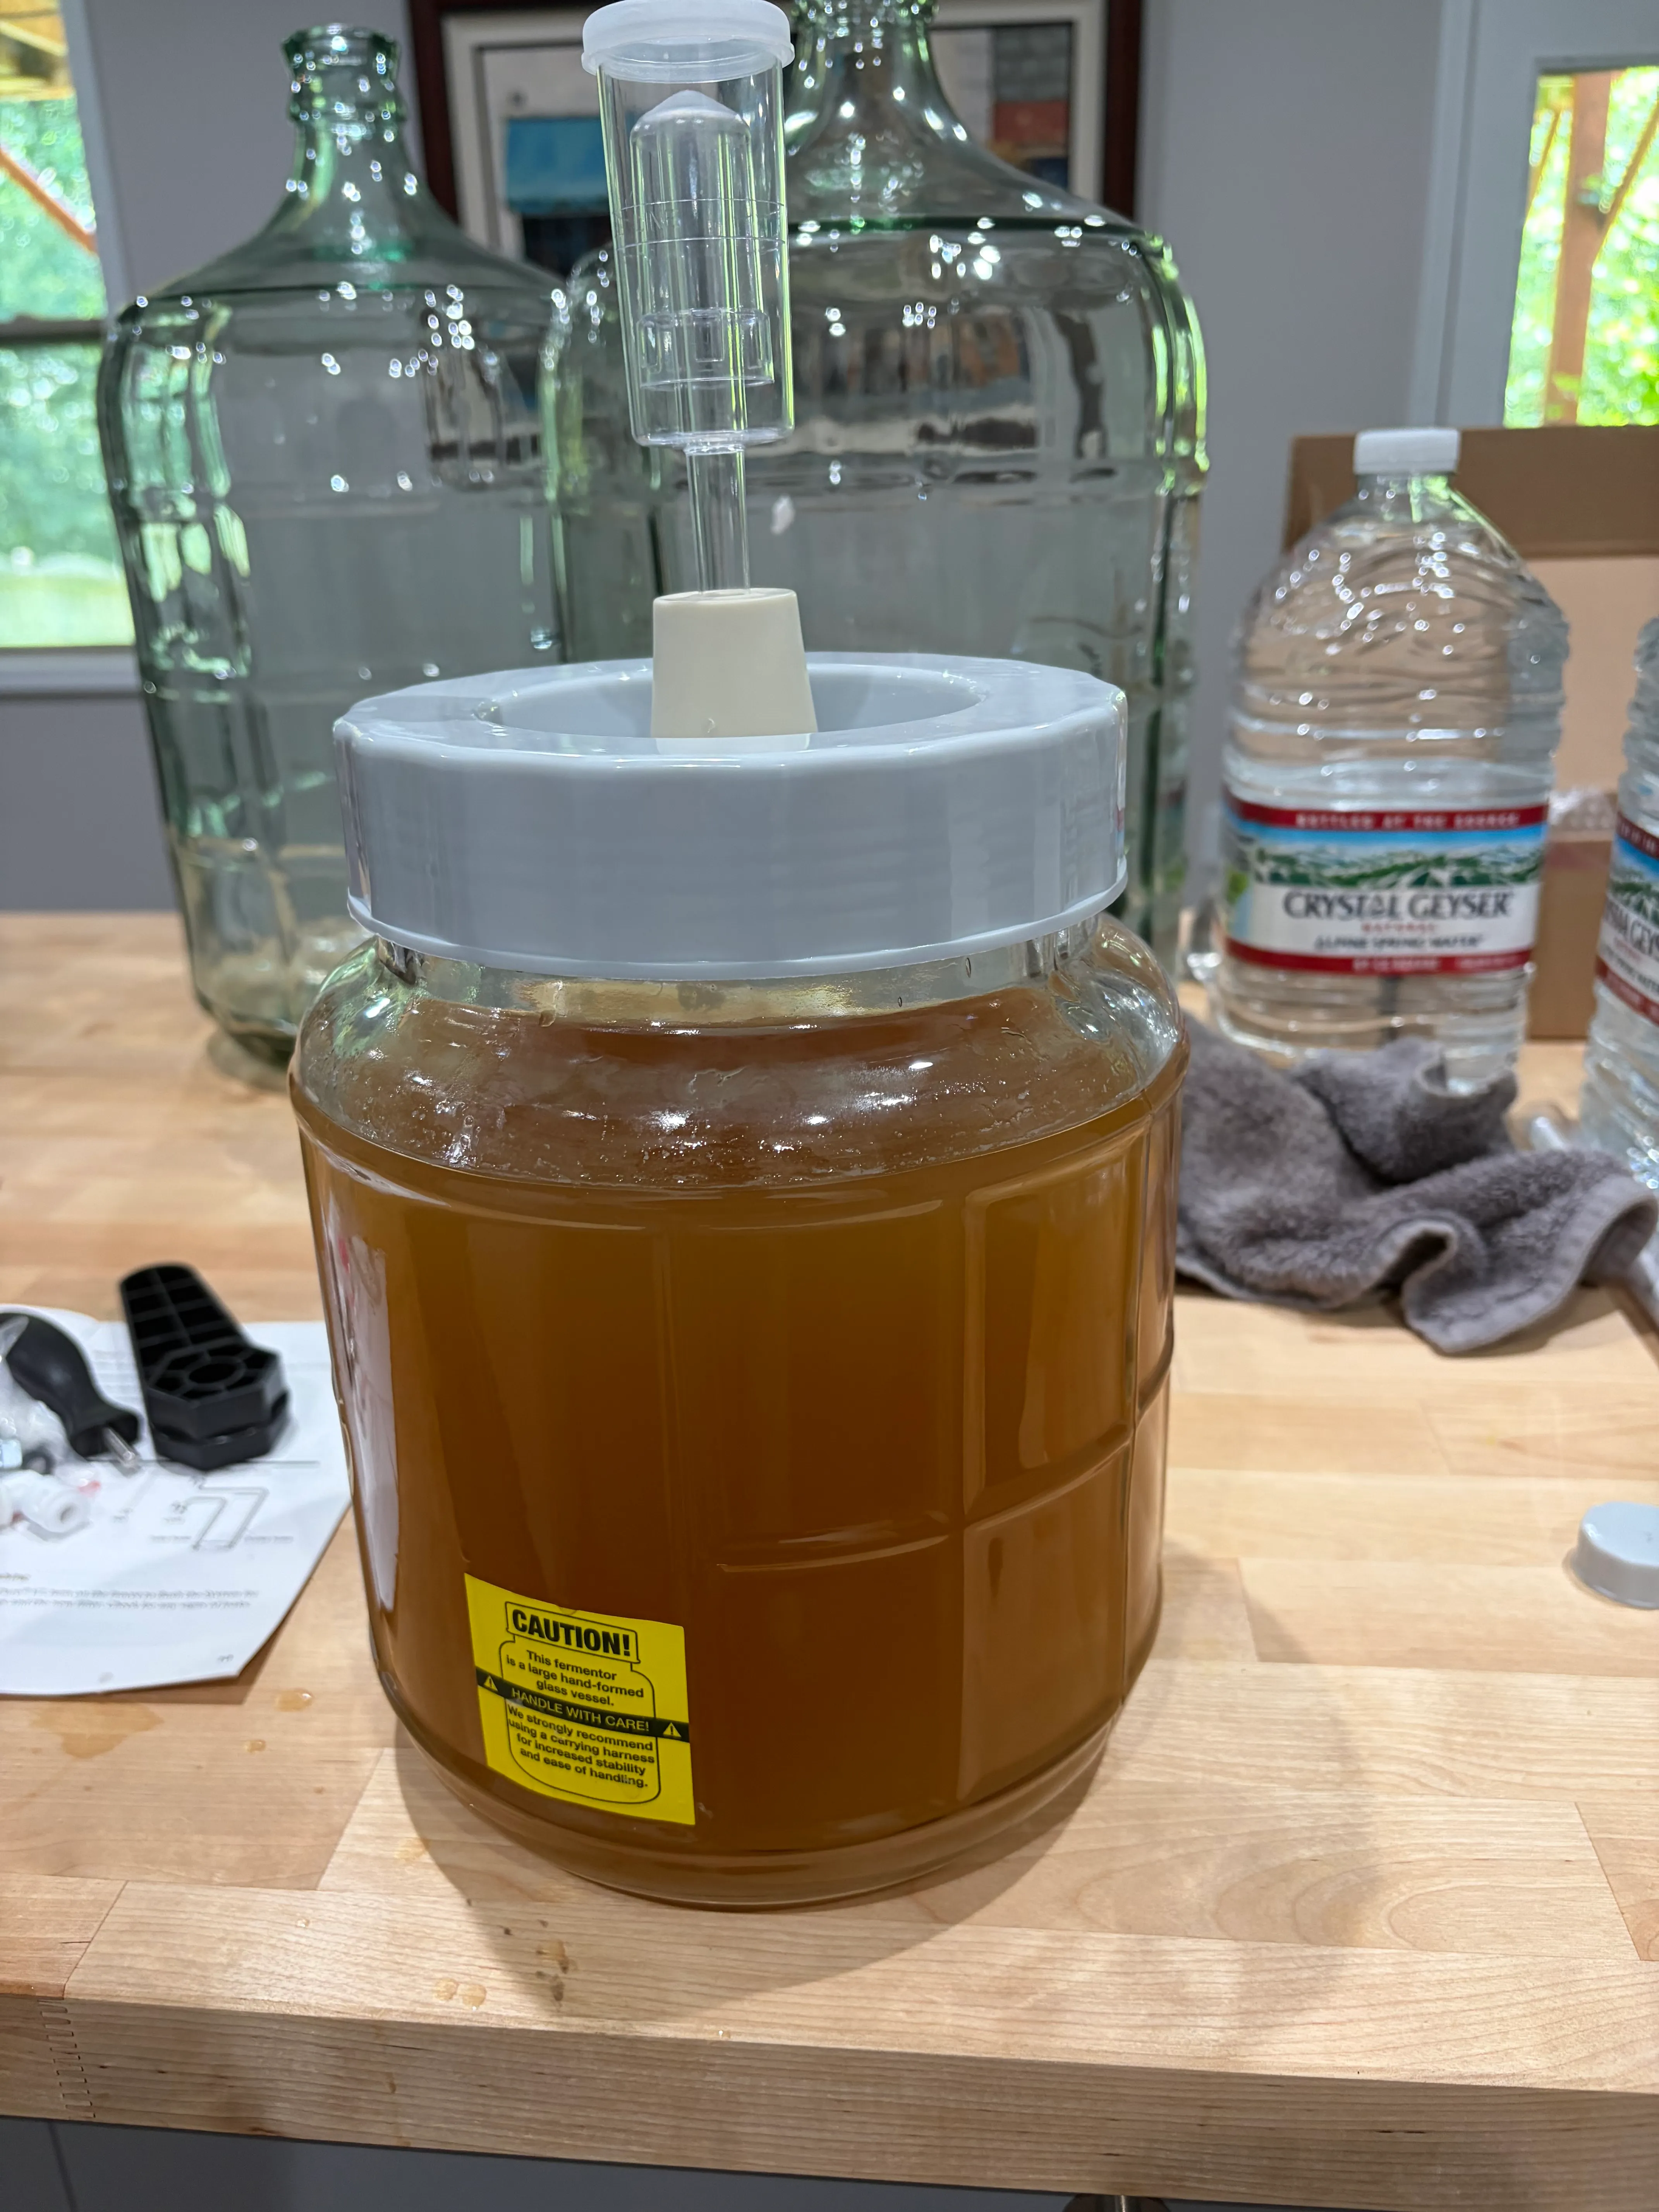
Everything went into a wide-mouth one gallon jar with an airlock. The honey was very fresh and dissolved easily into the 120 degree water I used. I used a large whisk to ensure it was fully dissolved. I hydrated the yeast and Fermaid O for 15 minutes in 100 degree water prior to pitching. Using a Thermapen (thermoworks.com) is the fast and easy way to check your temps. I have one for smoking foods on the Big Green Egg and will most certainly be buying another dedicated to mead making. Once the must, yeast and nutrients were added to the fermenting jar, I gave it another round of mixing with the whisk. One note: when you think you have mixed enough, you haven’t. Give it at least another 3–4 minutes of mixing and aeration to be sure.
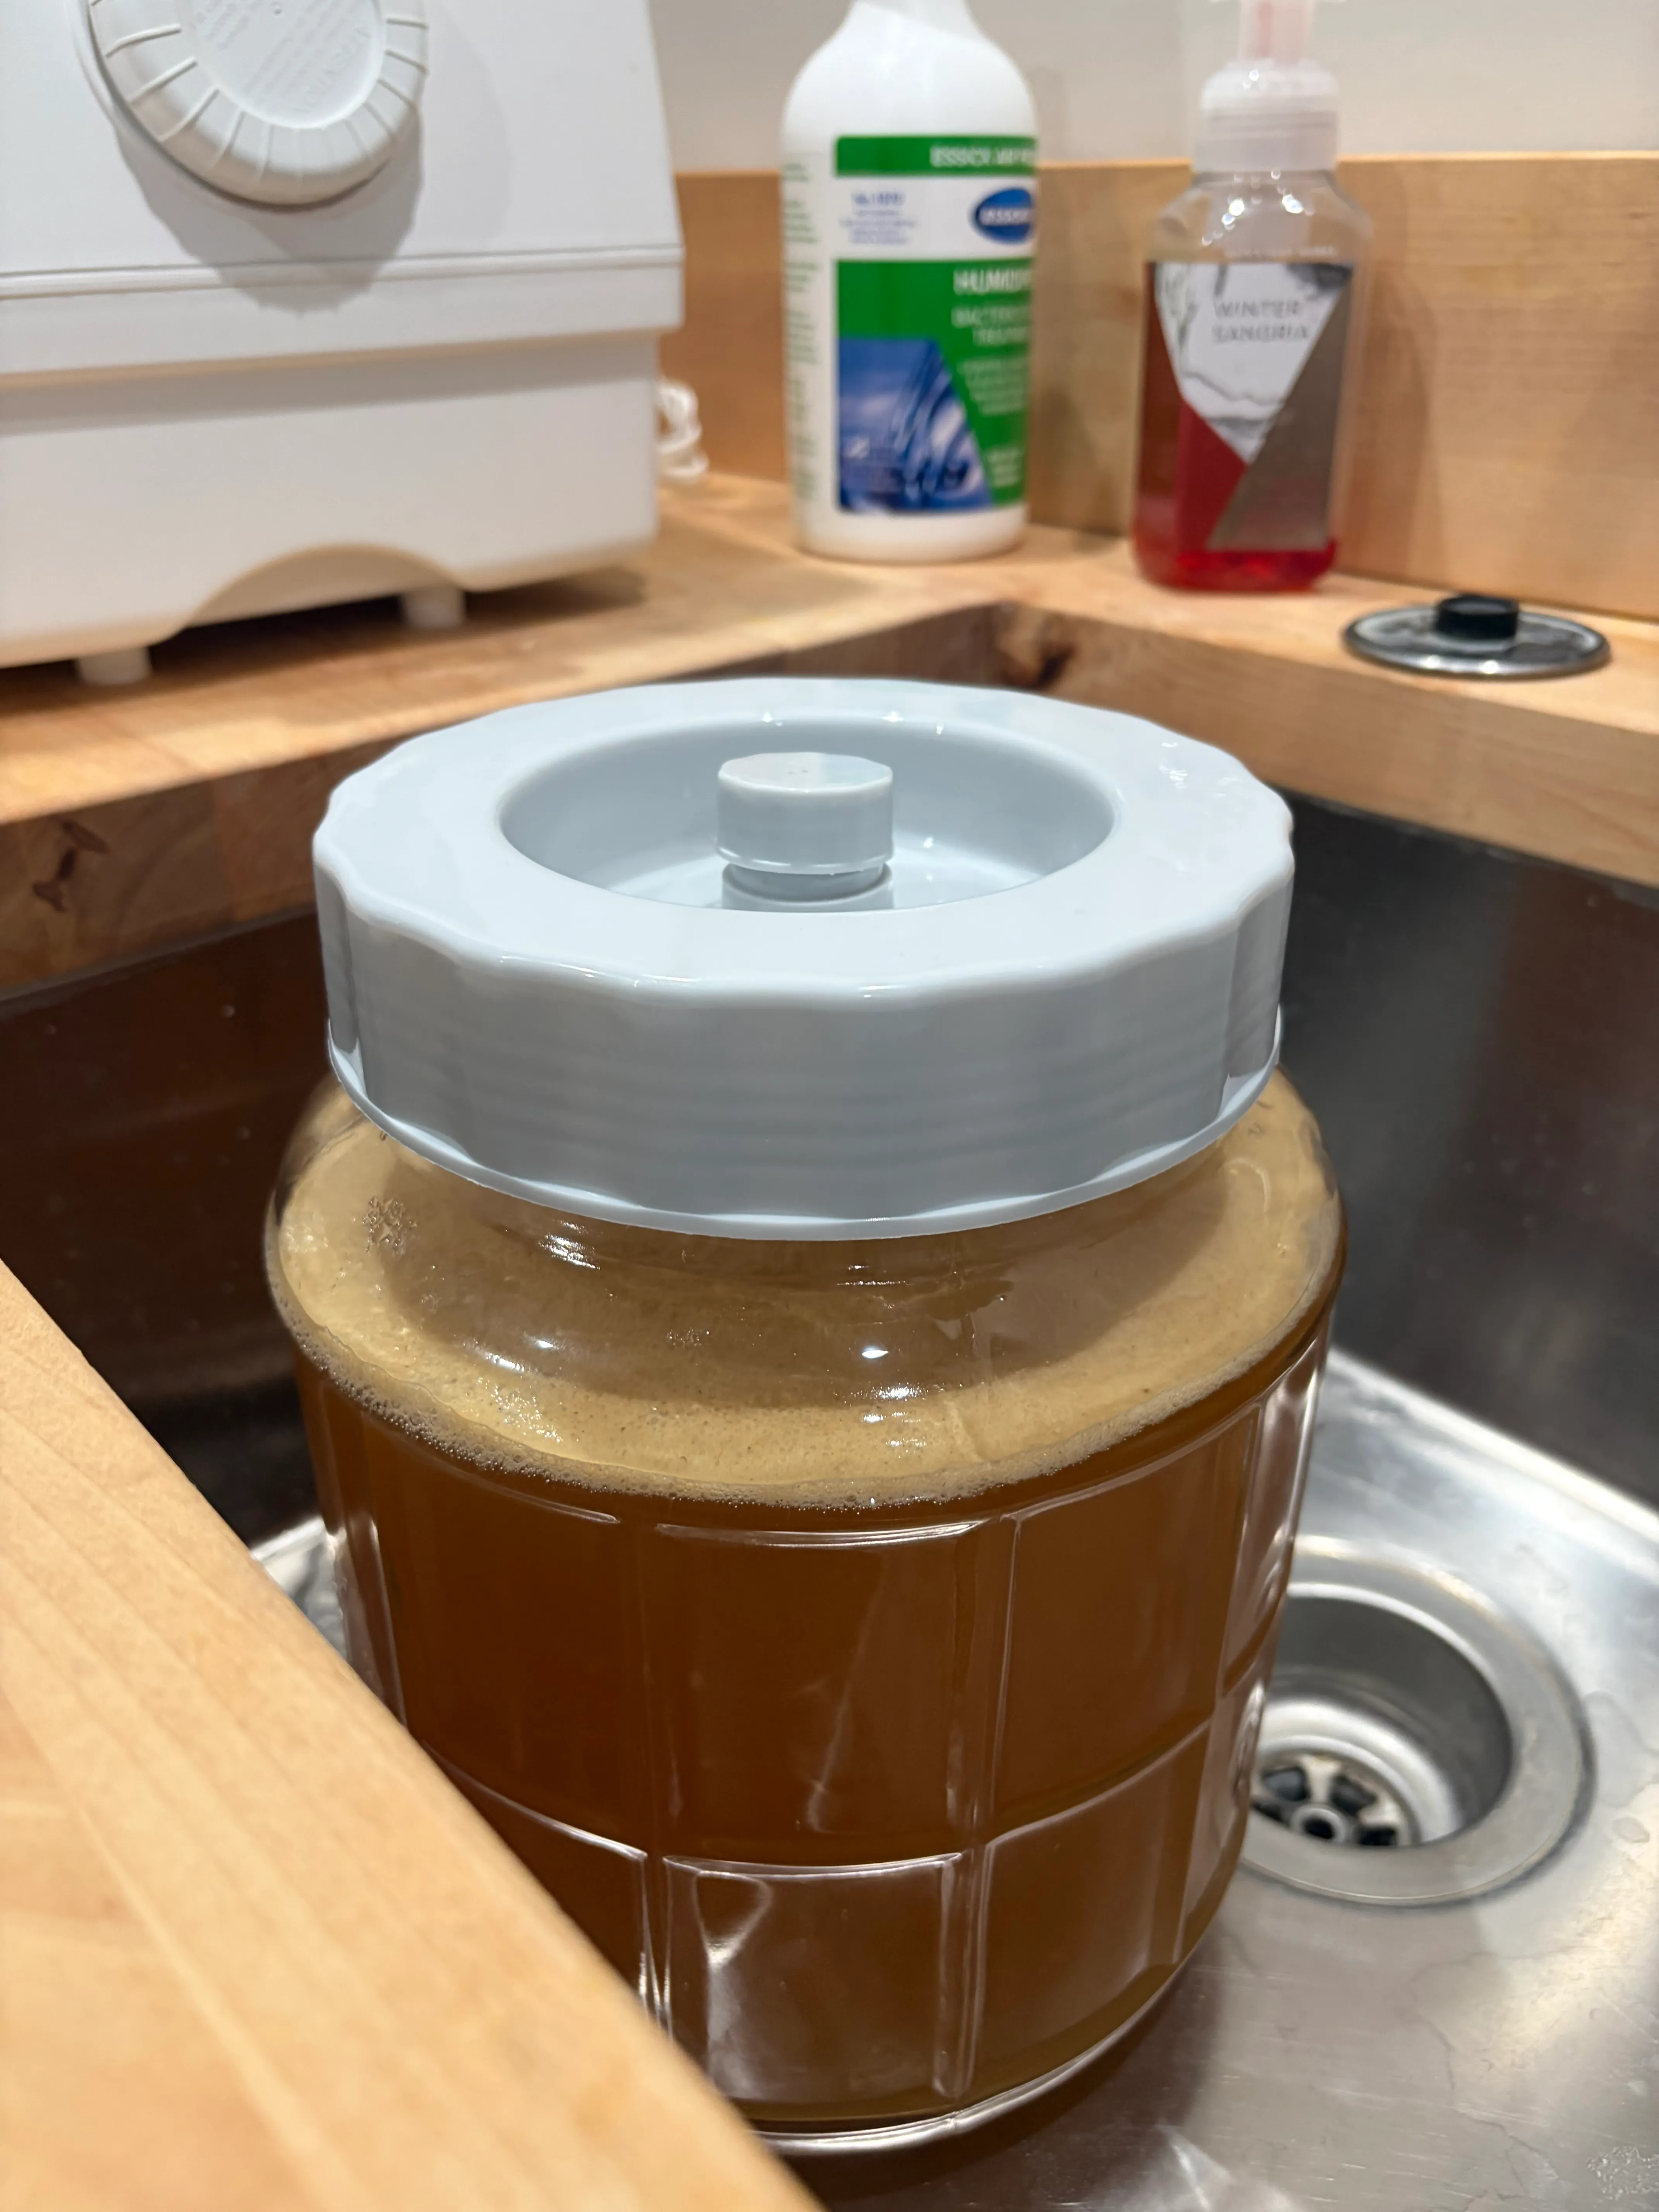
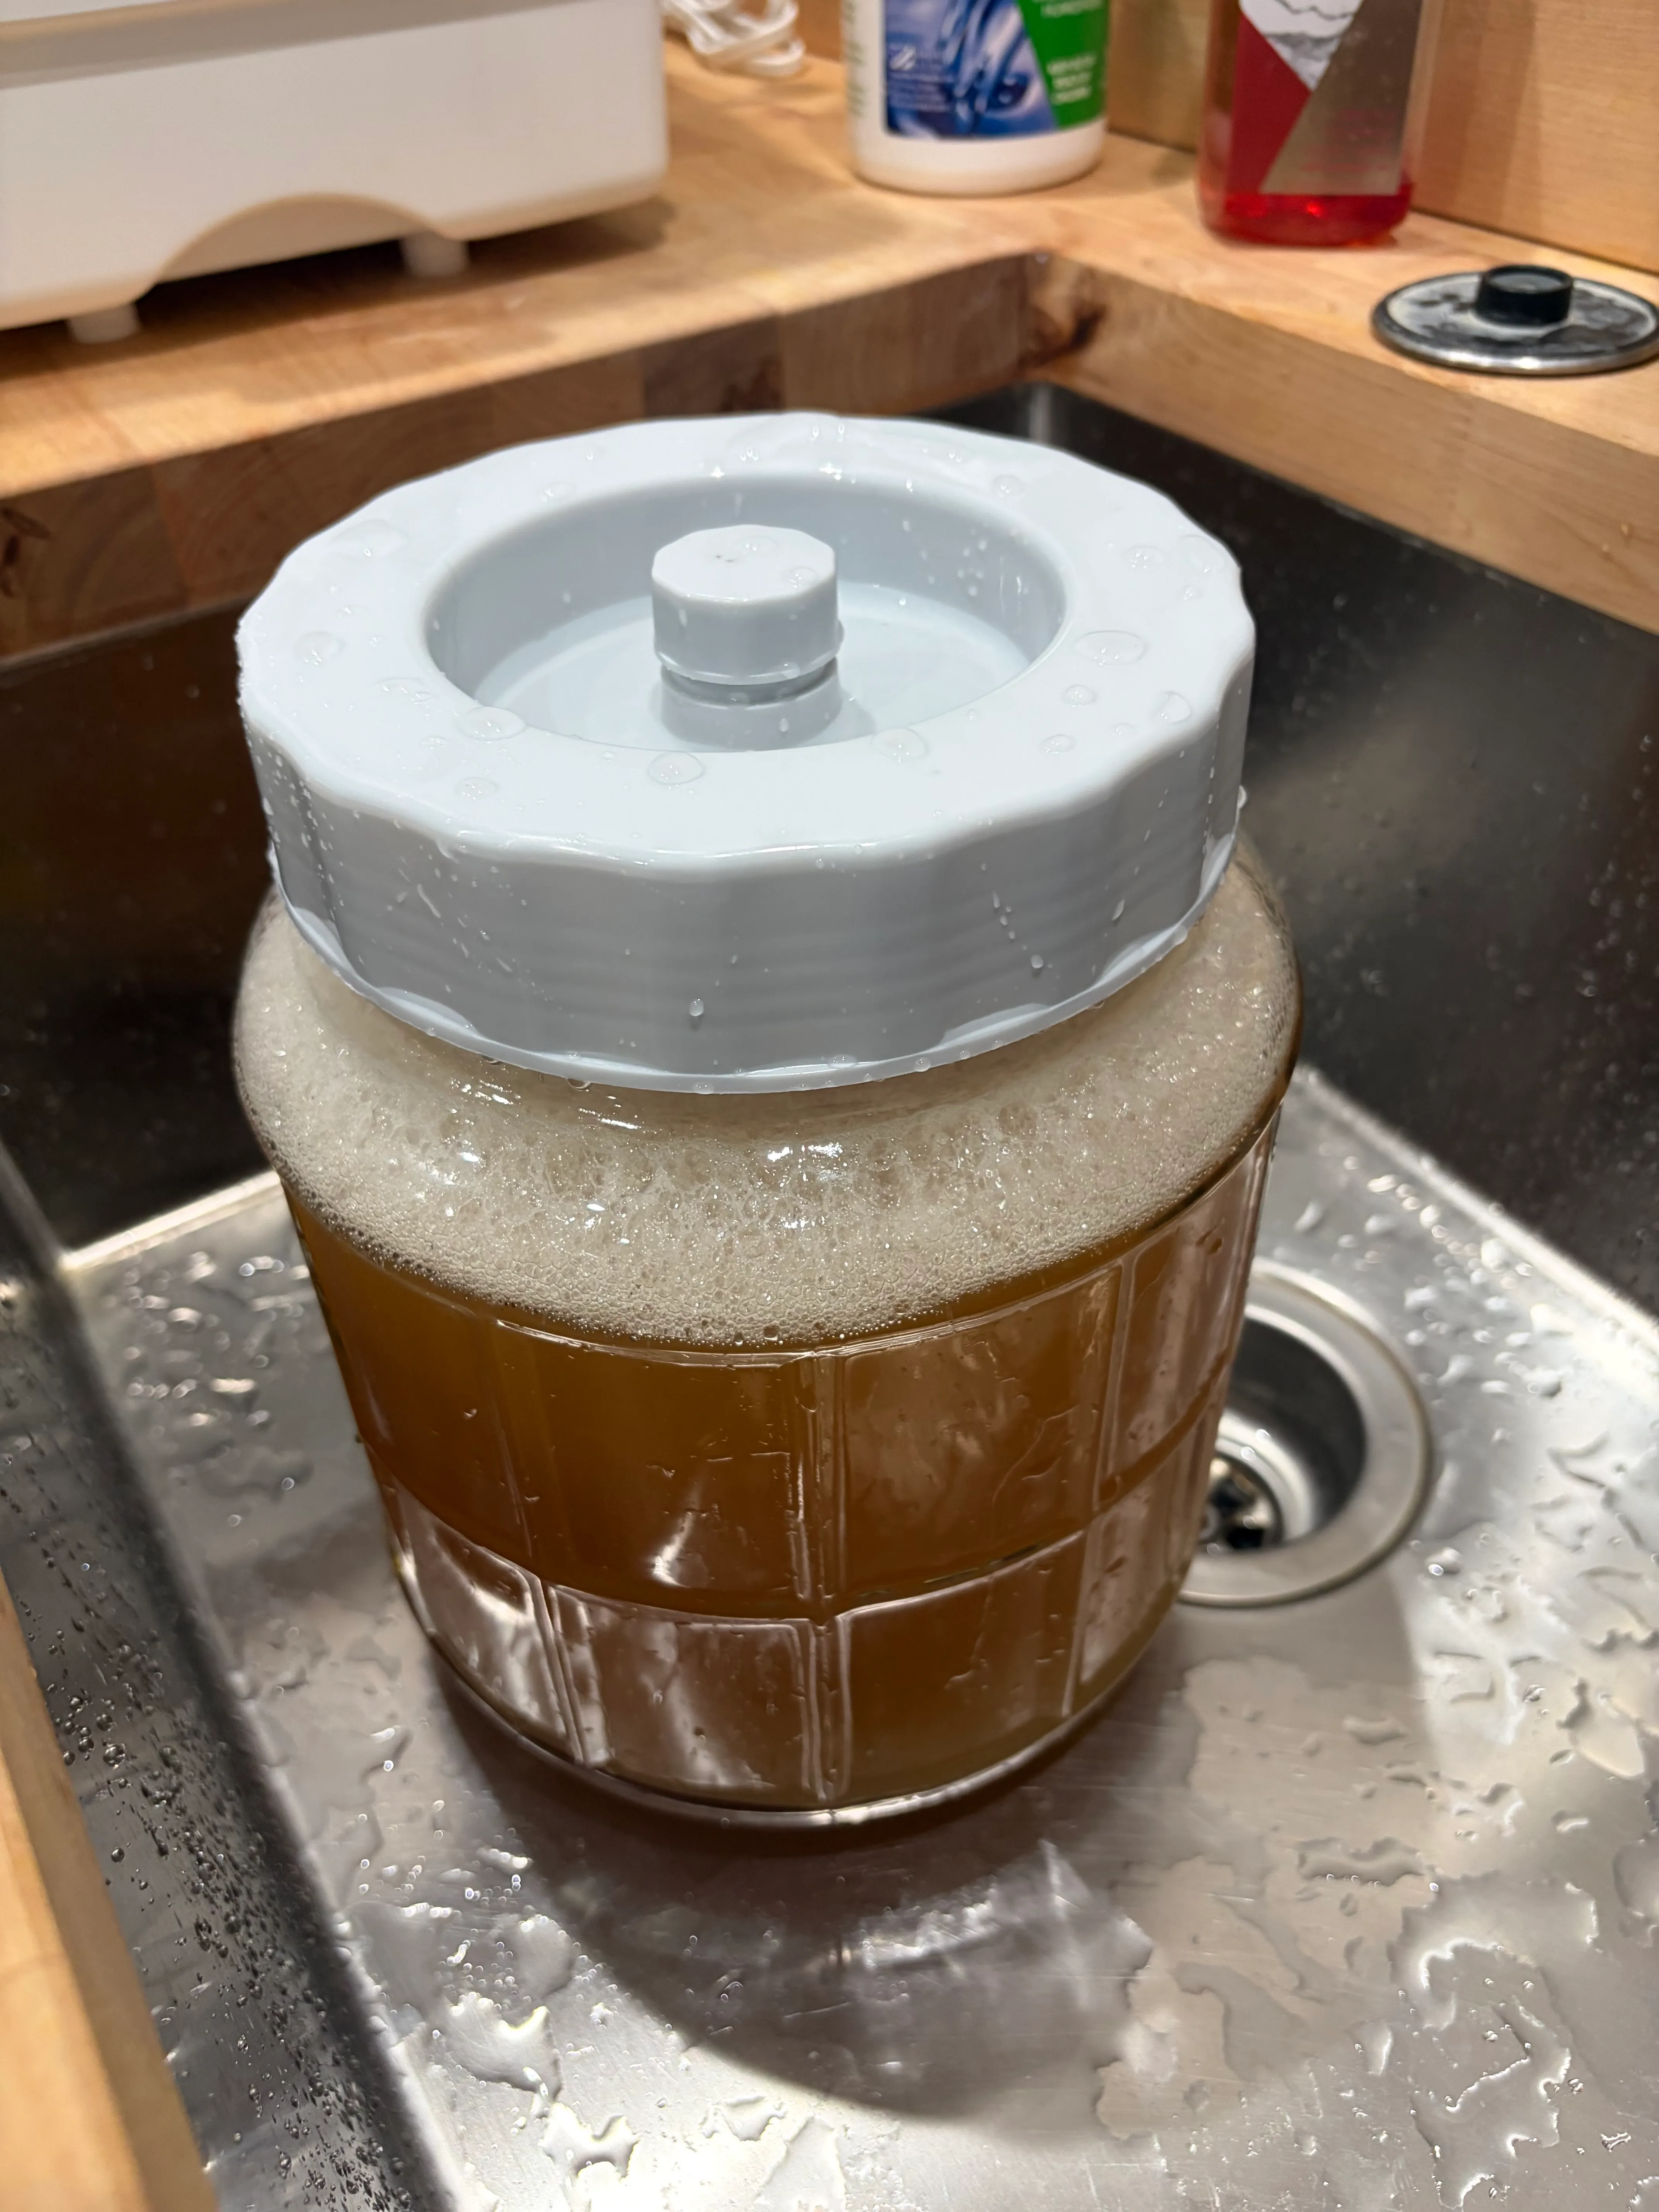
By evening it was already moving. These two are from the 1-hour and 4-hour marks. Not knowing how aggressive the early fermentation would be, I stored the fermenter in my basement sink as a precautionary measure. If you have the space, I highly recommend this step — honey and honey must are sticky and hard to clean up at the best of times. I have an entire basement with a wet-bar at my disposal, so I went this route for easier cleanup.
Brew specs
| Spec | Value |
|---|---|
| Style | Traditional dry |
| Batch size | 1 gallon |
| Honey | 3 lbs Money’s Honey Wildflower (raw, unfiltered) |
| Water | Crystal Geyser spring, 1 gal |
| Yeast | Lalvin 71B |
| Nutrient | Fermaid O, ~1 tbsp at pitch |
| OG | 1.090 |
| pH at pitch | 4.1 |
| Target | Dry finish, ~12% ABV |
Day 1 — 24 hours in
Gave it a good stir and degassed it at the 24-hour mark — pulled the CO₂ out of suspension and roused everything back together. Gravity held at 1.090, and I fed it another dose of Fermaid O while I was in there.
That second feeding is worth a word, because it’s where the modern playbook and the old one part ways. The current standard is a protocol called TOSNA — Tailored Organic Staggered Nutrient Additions. Instead of dumping all your nutrient in at the start, you split the total Fermaid O into four smaller feeds over the first three days (pitch, 24, 48, 72 hours, timed to the yeast’s own appetite). Yeast want nitrogen most while they’re multiplying early, and feeding them in stages gives a cleaner, calmer fermentation than one big hit. I’m running a simpler version of it on this first gallon — but I’ll do the full four-stage TOSNA on Batch 2, and I’ll report back on whether I can taste the difference.
What happens next
Days one through three are the busy window: check gravity, degas daily, add oxygen only while the yeast still wants it, then seal it up and get out of the way. A larger fermenter is on the way too — that foam cap in the last photo is exactly why. Not to change the recipe, just to give it somewhere to go besides my sink.
After that this becomes a waiting game measured in weeks, and I’ll log it here as it goes.
So far, I am enjoying my new hobby. Nothing I have tried has captured my imagination, nor my hours of free time, quite as much as this project. I hope it turns out drinkable at least, but regardless it will give me the basis for experimentation with later batches. If I had to give any advice at this stage of my journey it would be to start small. There are kits available that give you everything but the honey to start. I chose not to go that route as I had a lot of what they provide already from earlier wine kits. One kit I have seen good reports on is the one from Golden Hive Mead. Do your own research! I am providing links only as a reference to what I use and anything I strongly considered using personally. I do not have an affiliate relationship with anyone I link to.